This is a personal project in which I am developing some shots for the brand Cane.Co (Instagram Link), a series of still images and animations will be given as a gift to the company.
My goal here is to improve my skills in Houdini and Redshift.
About Cane.Co
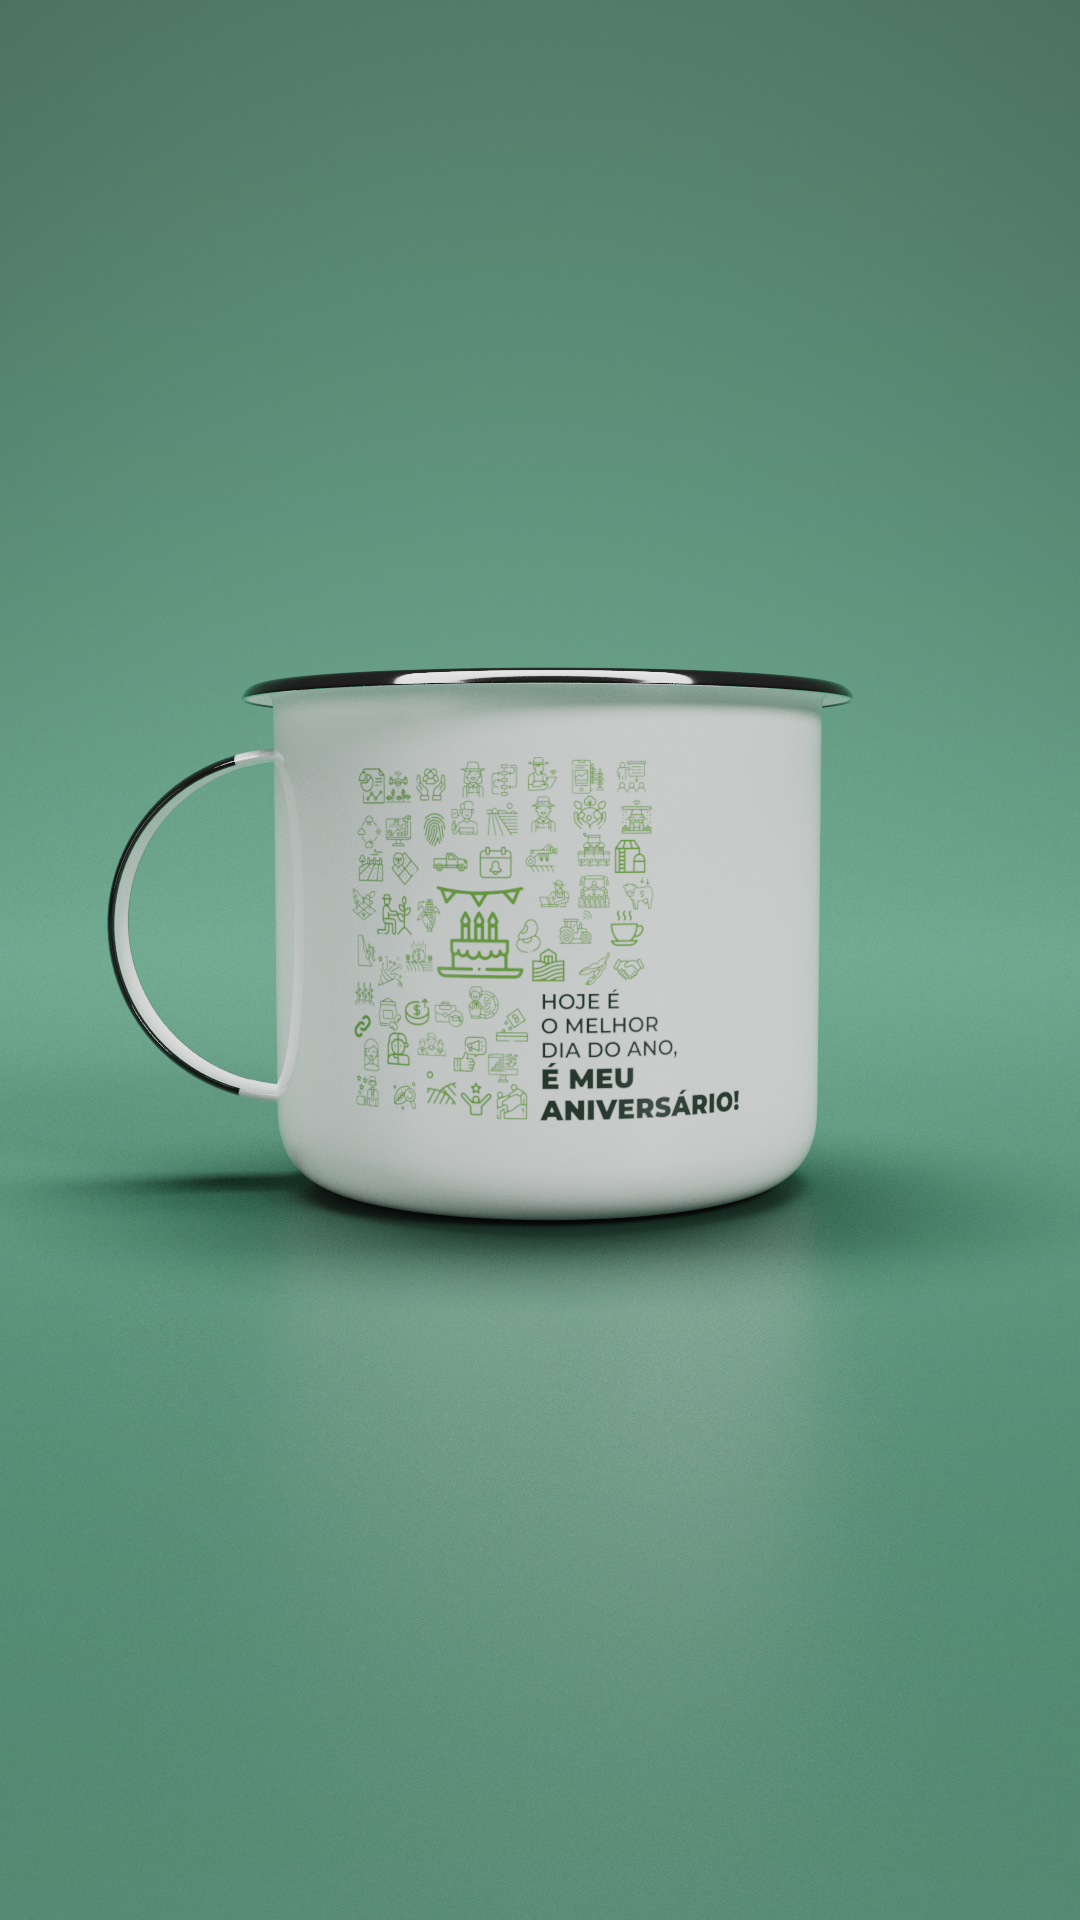
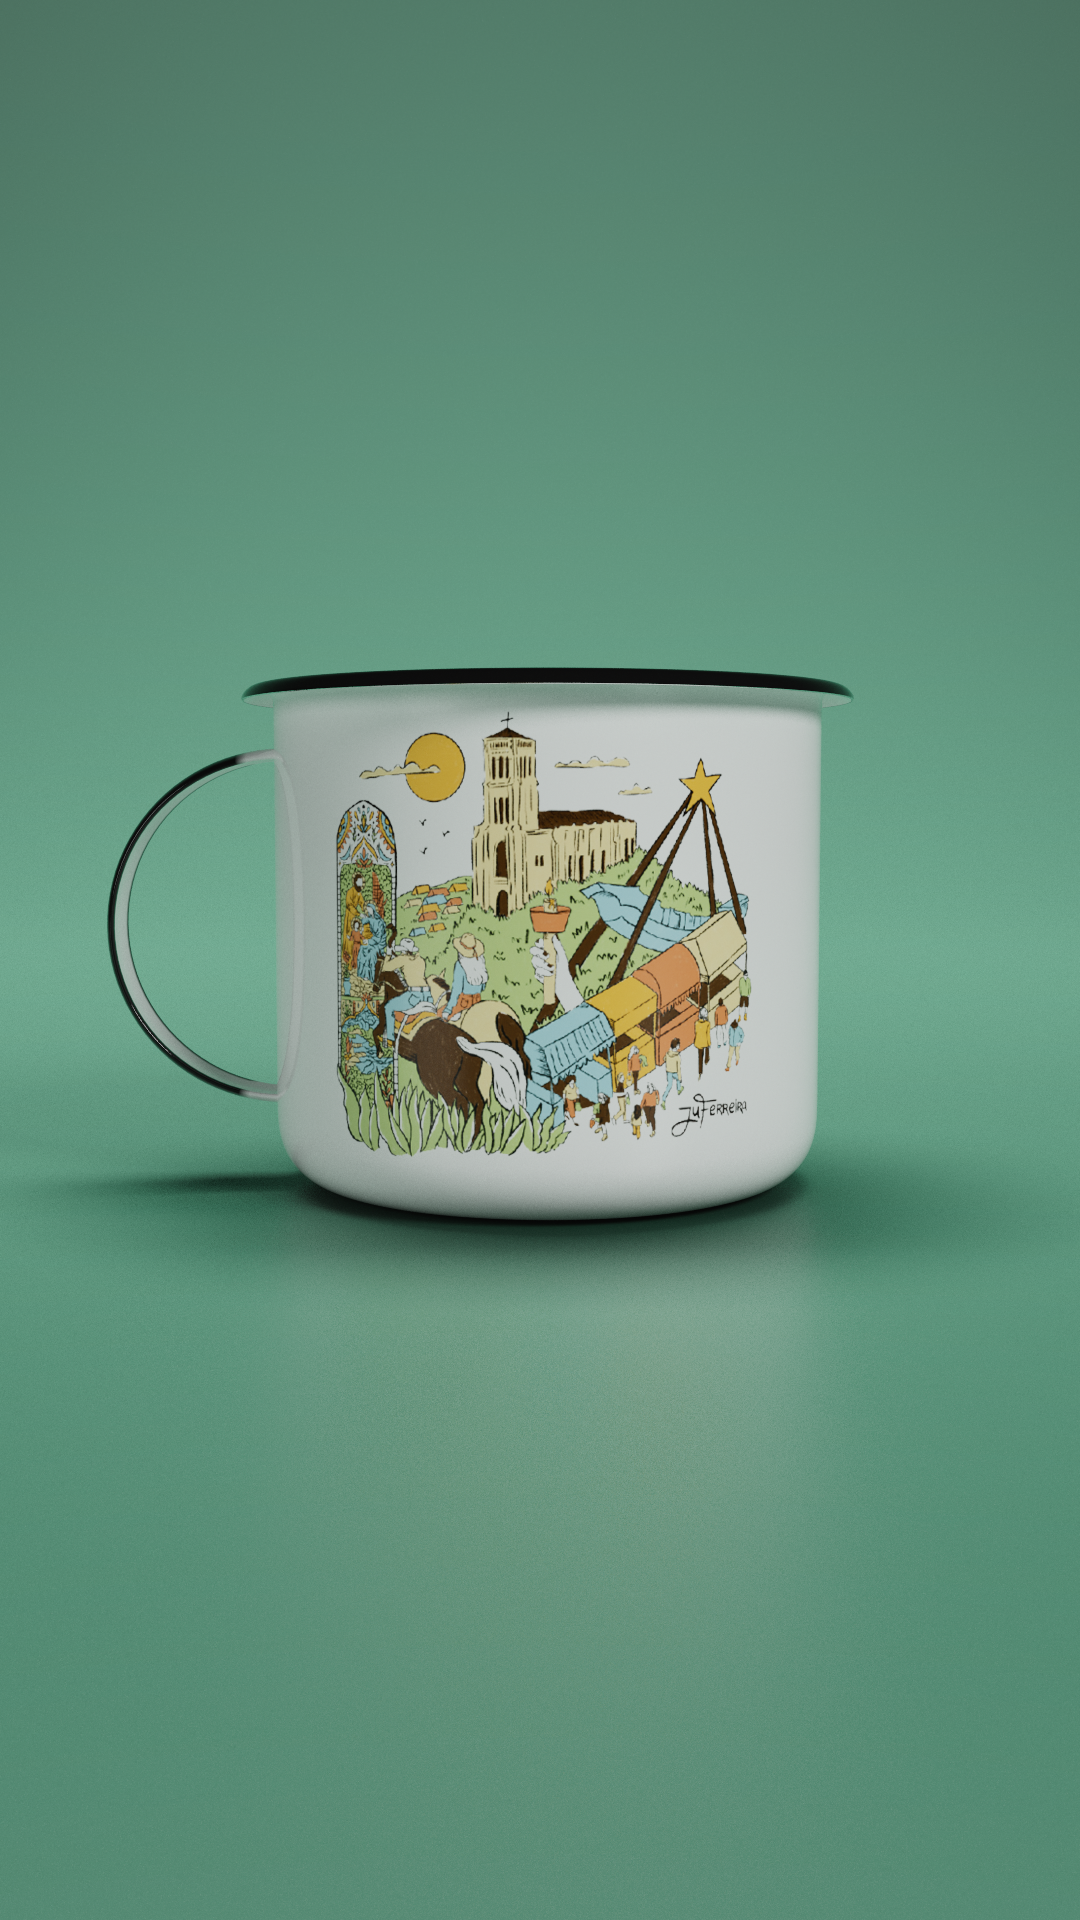
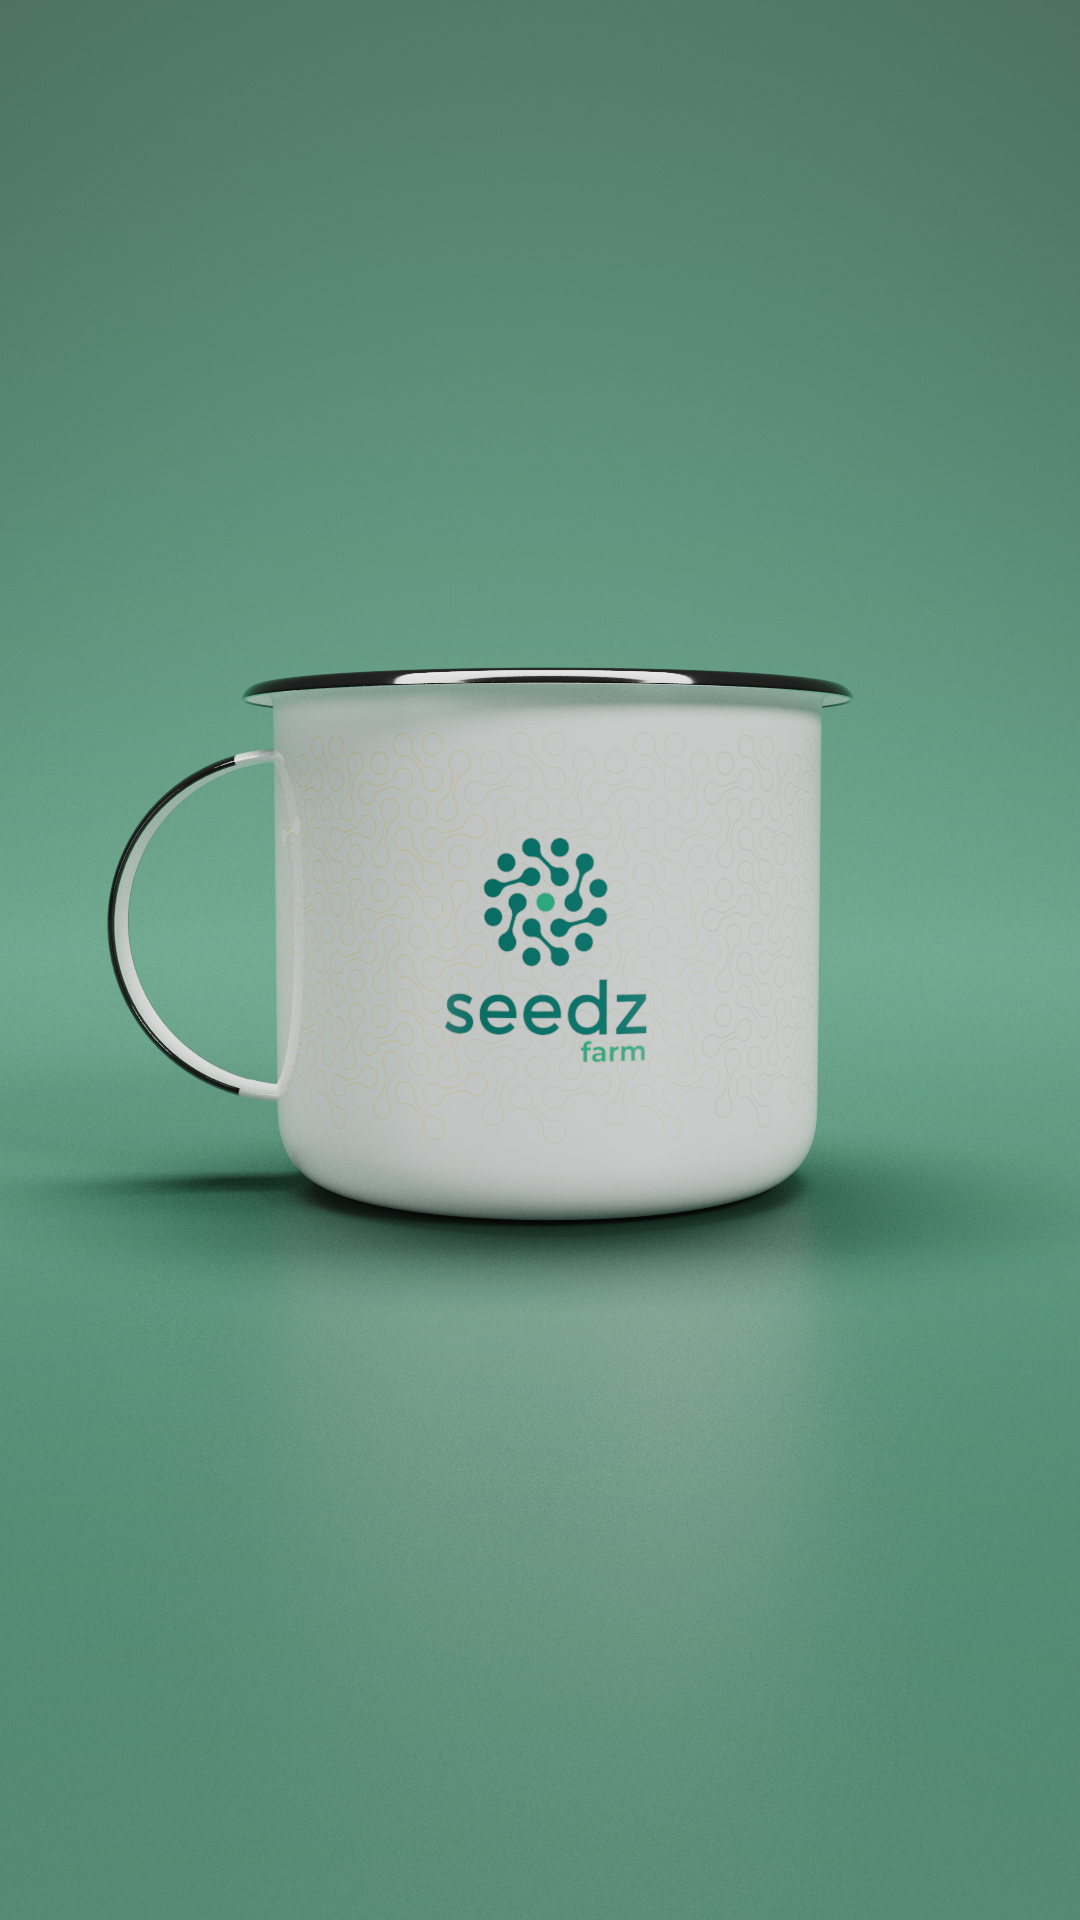
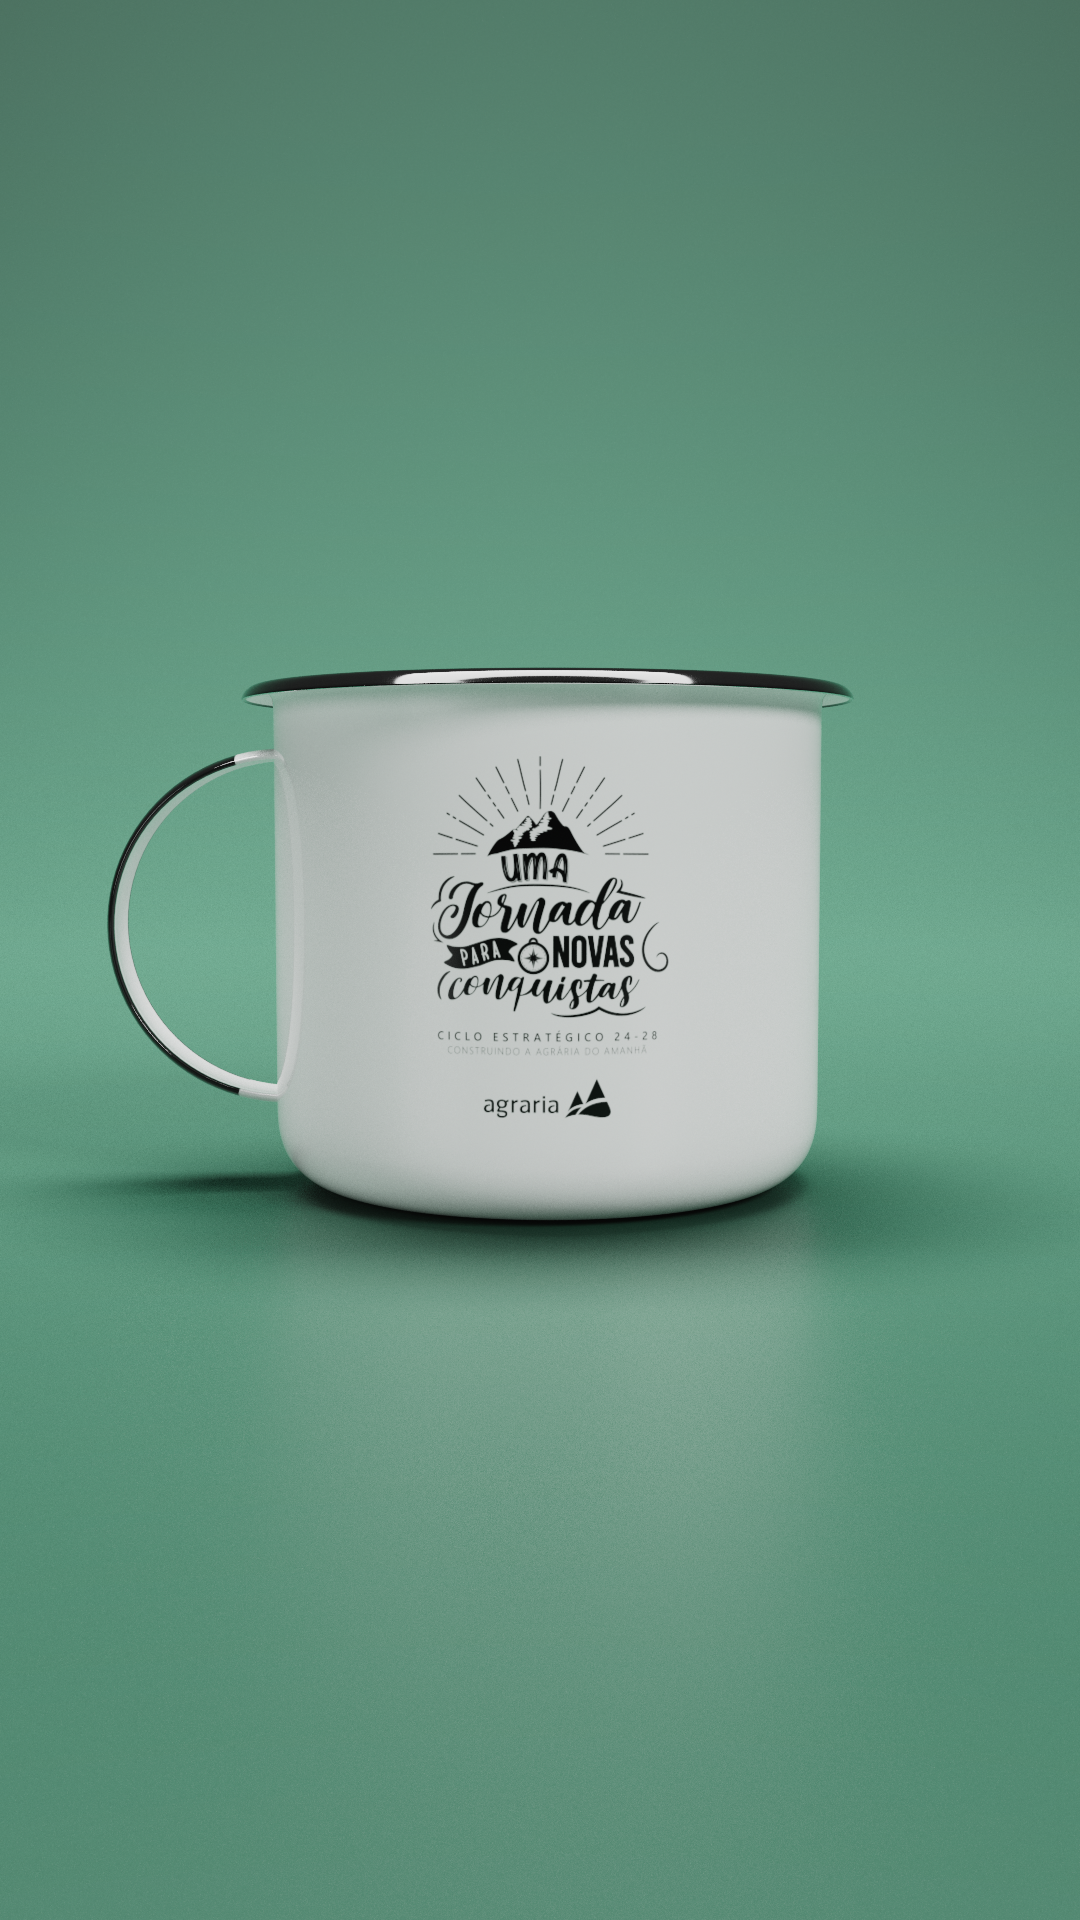
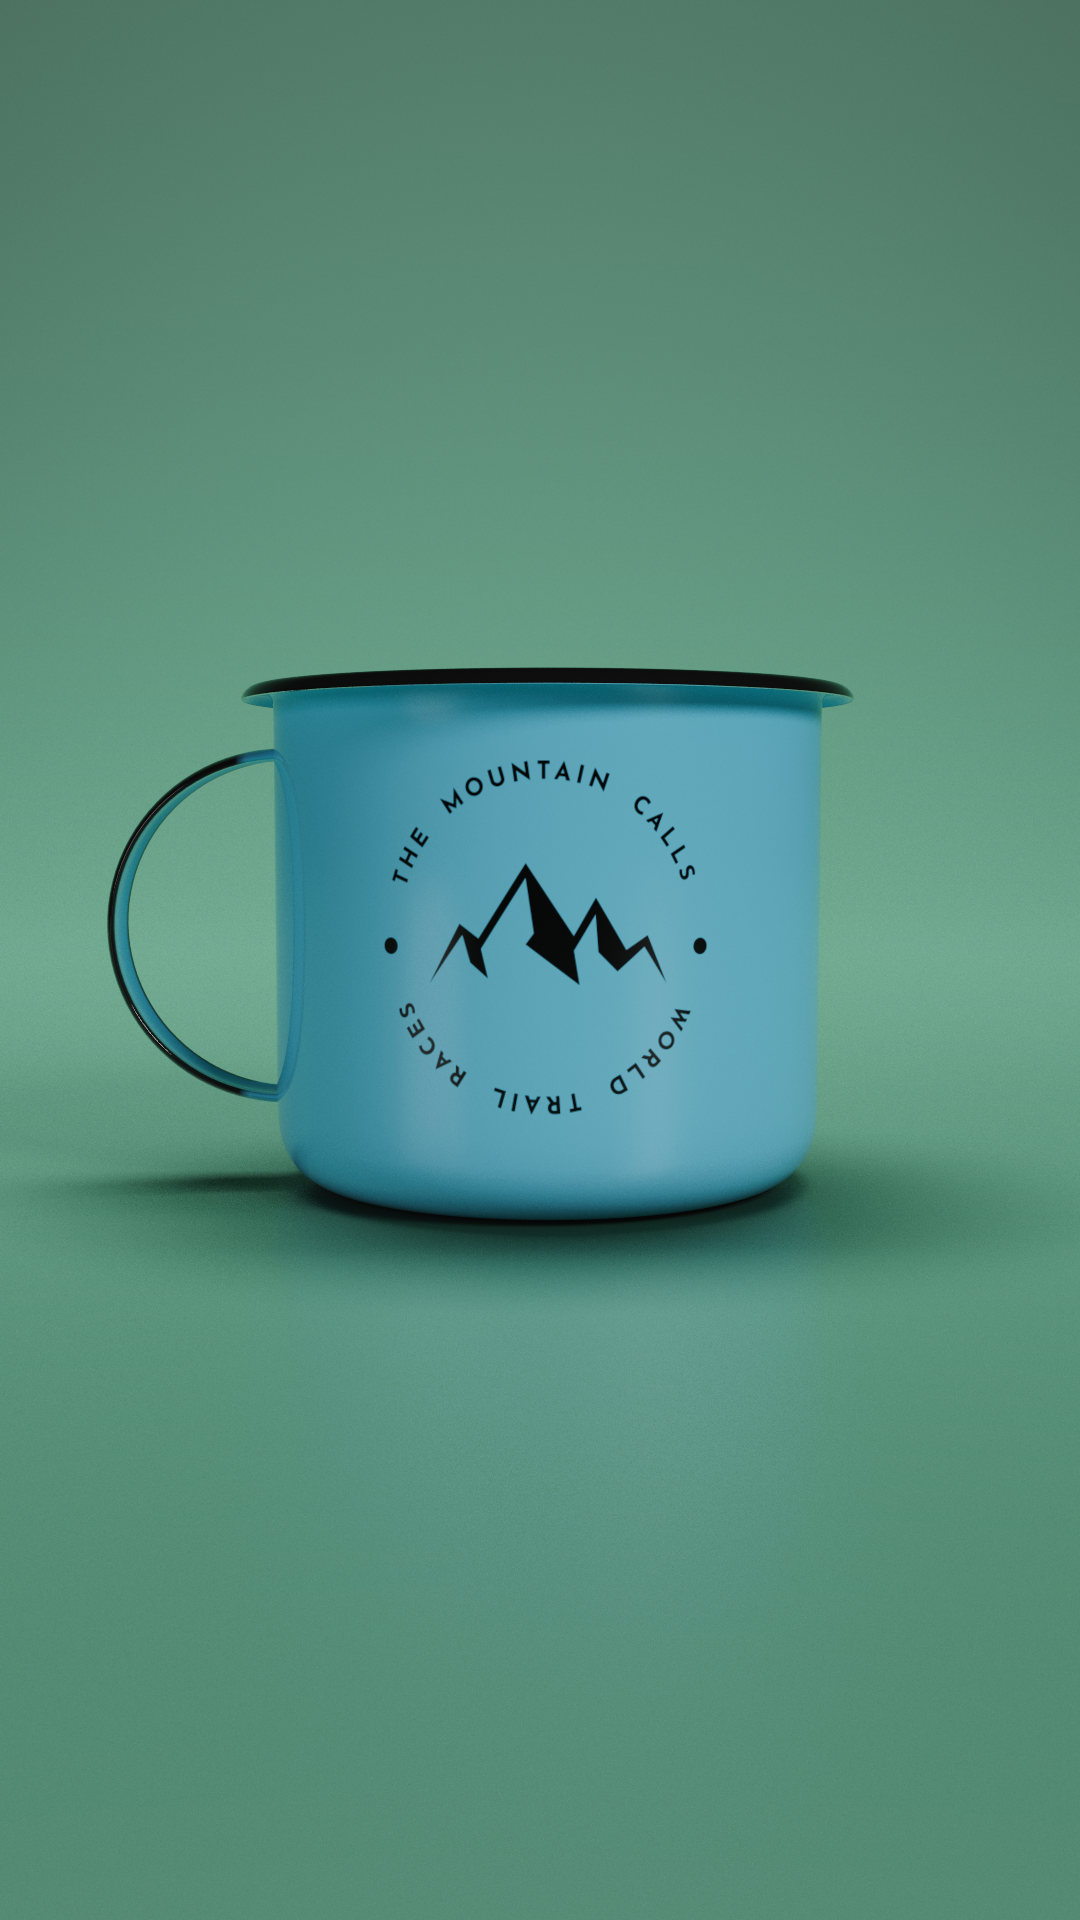
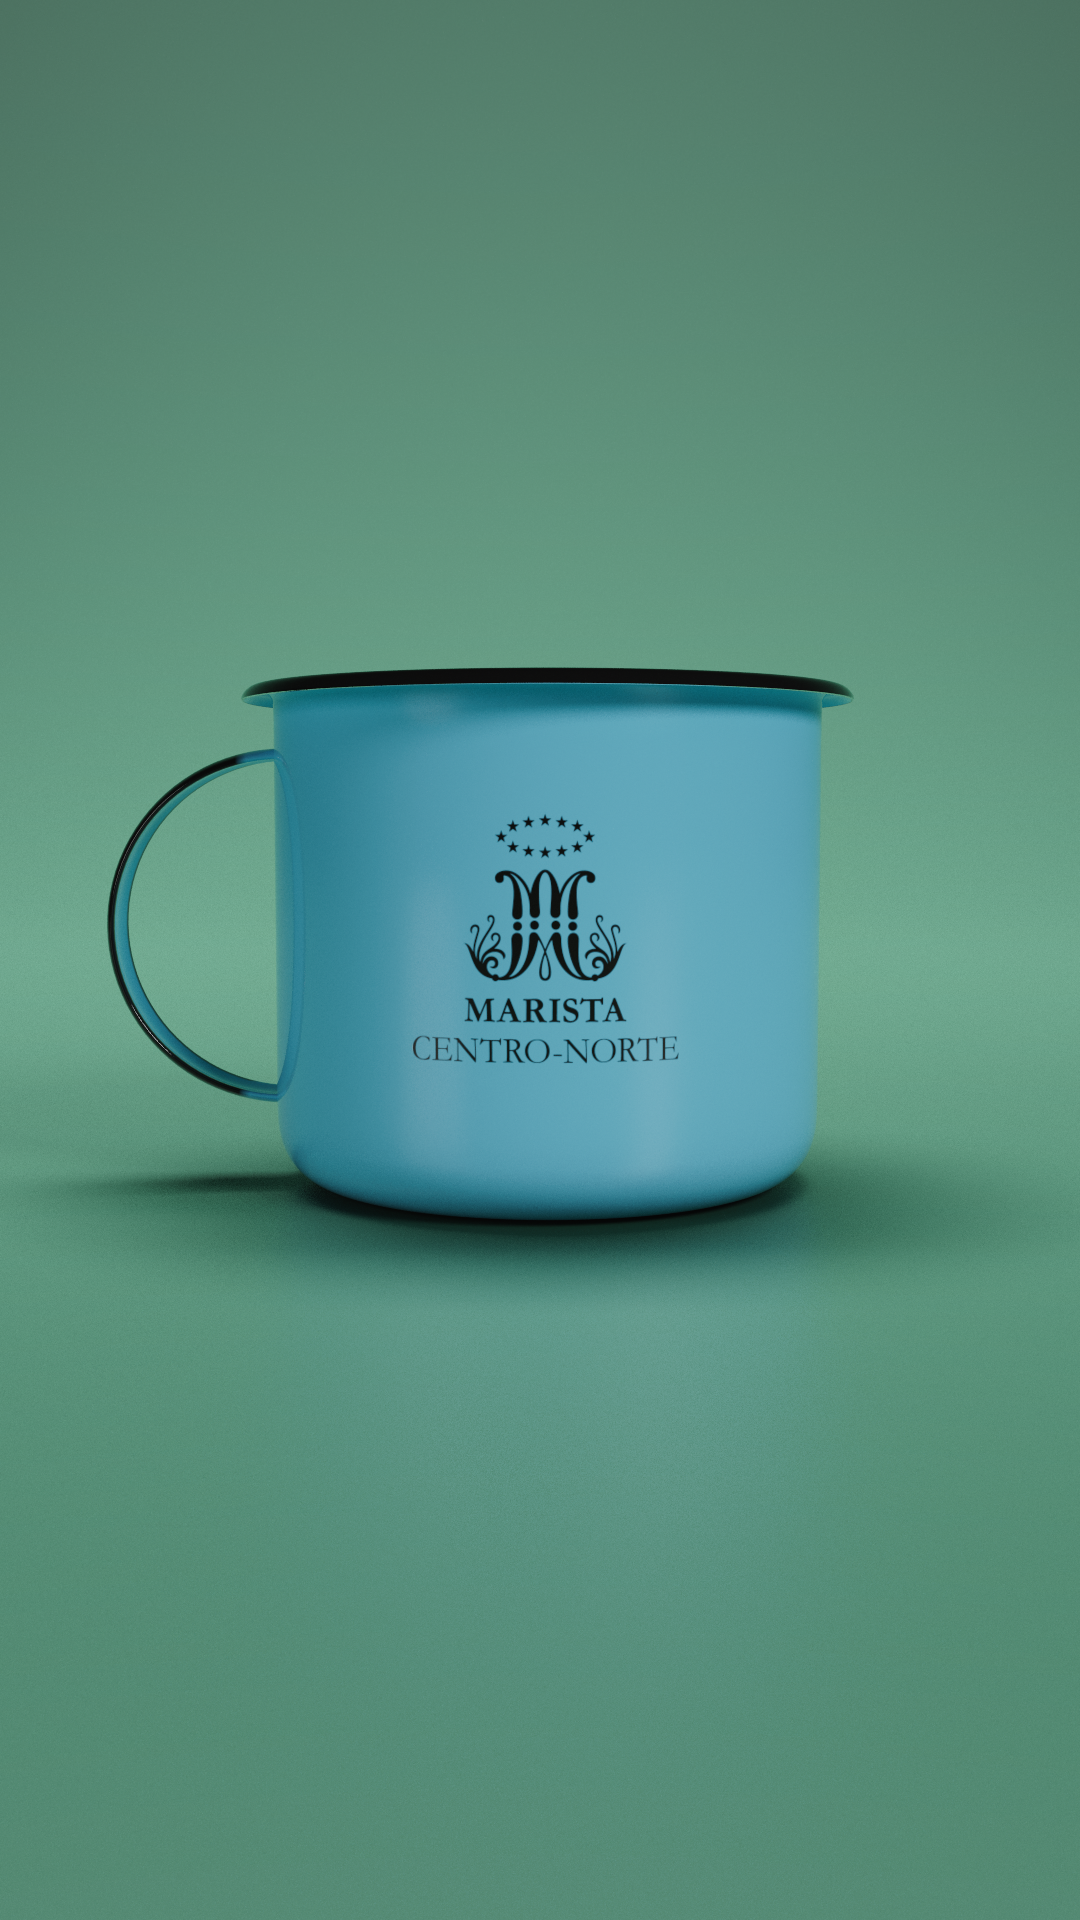
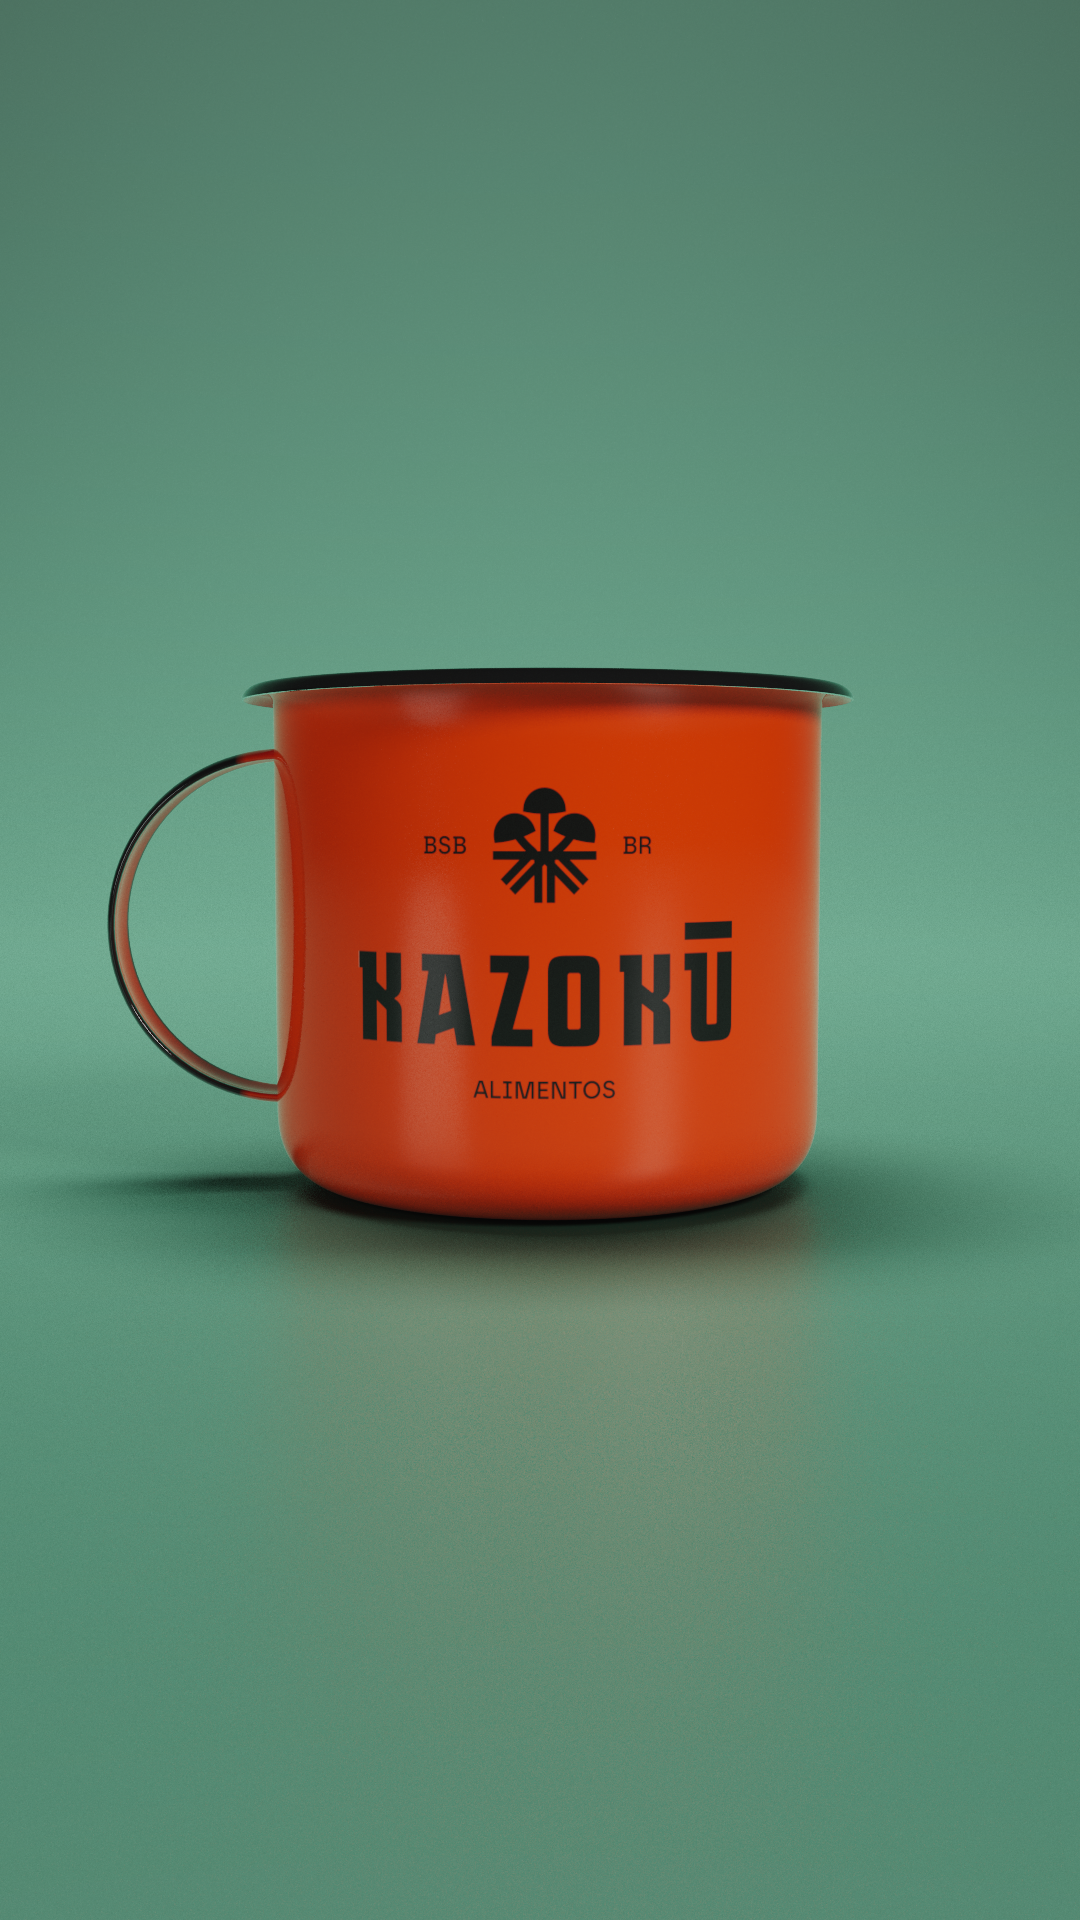
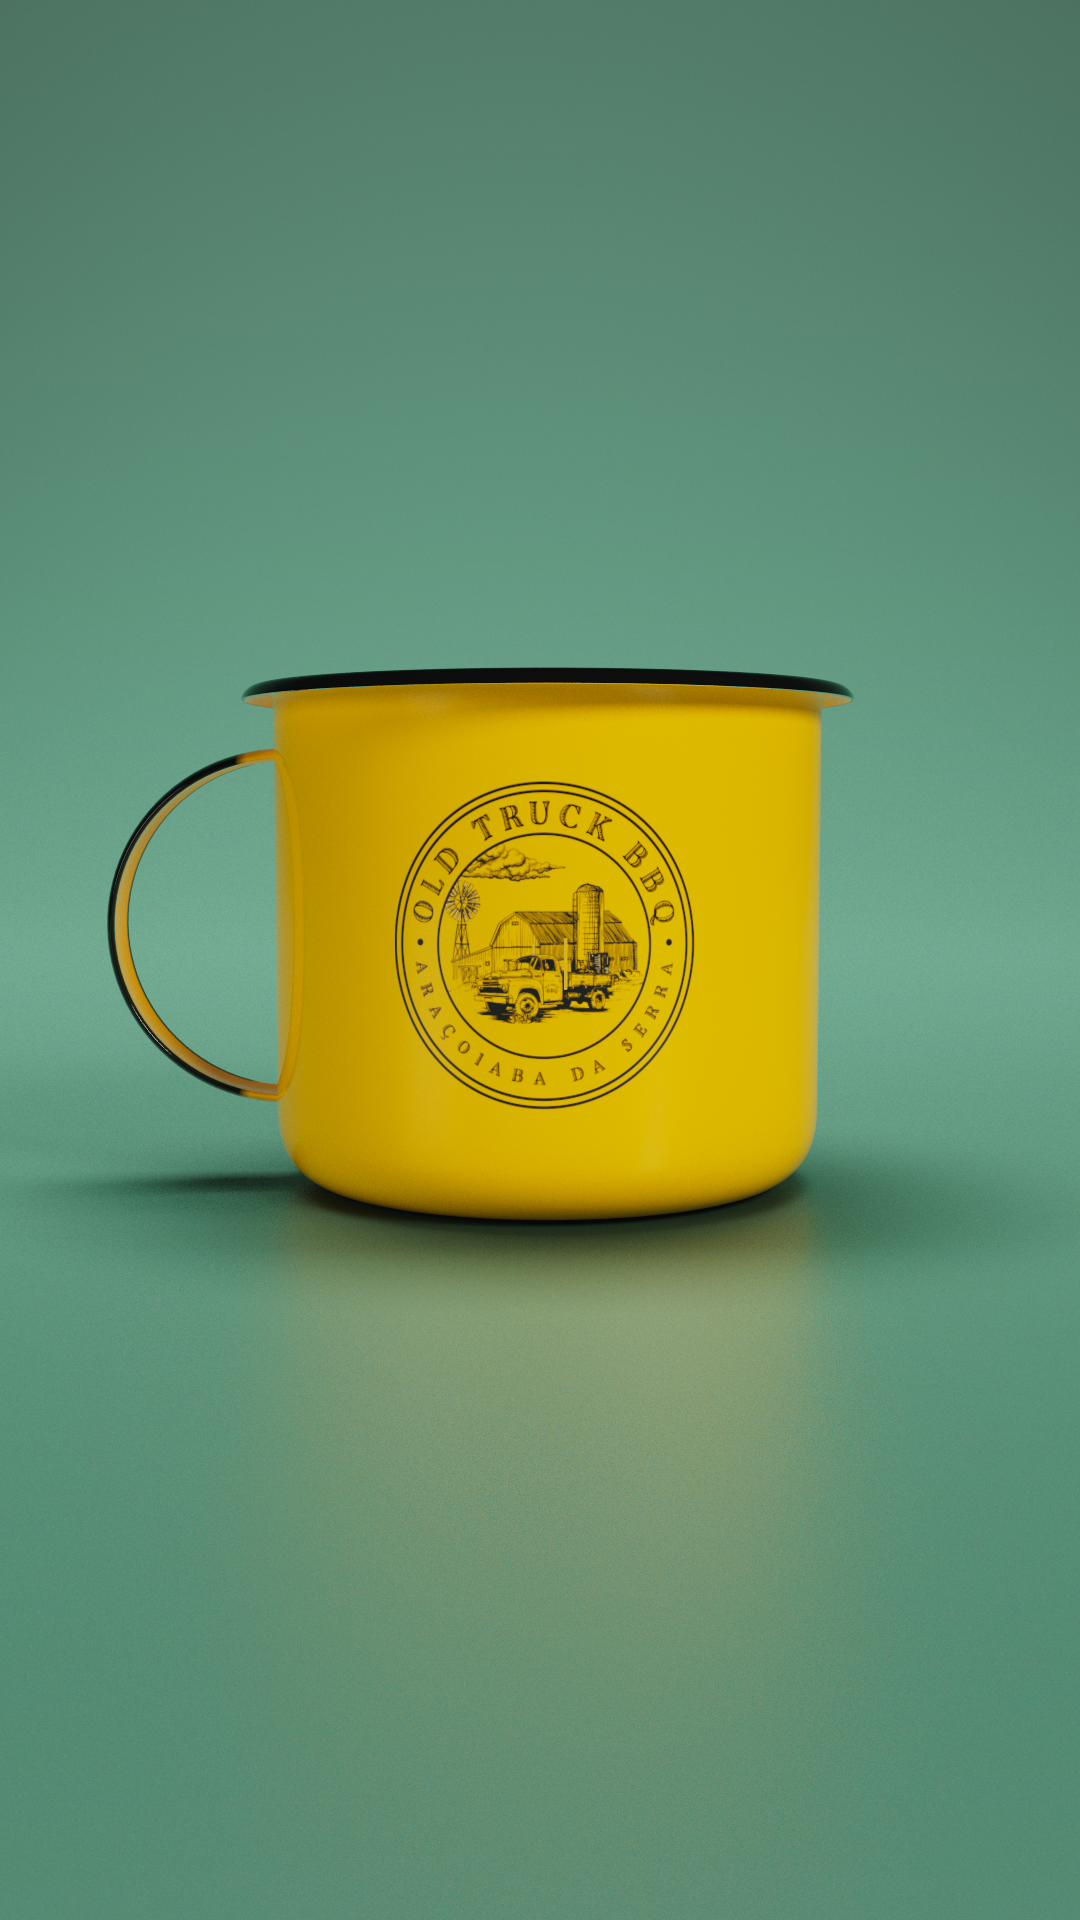
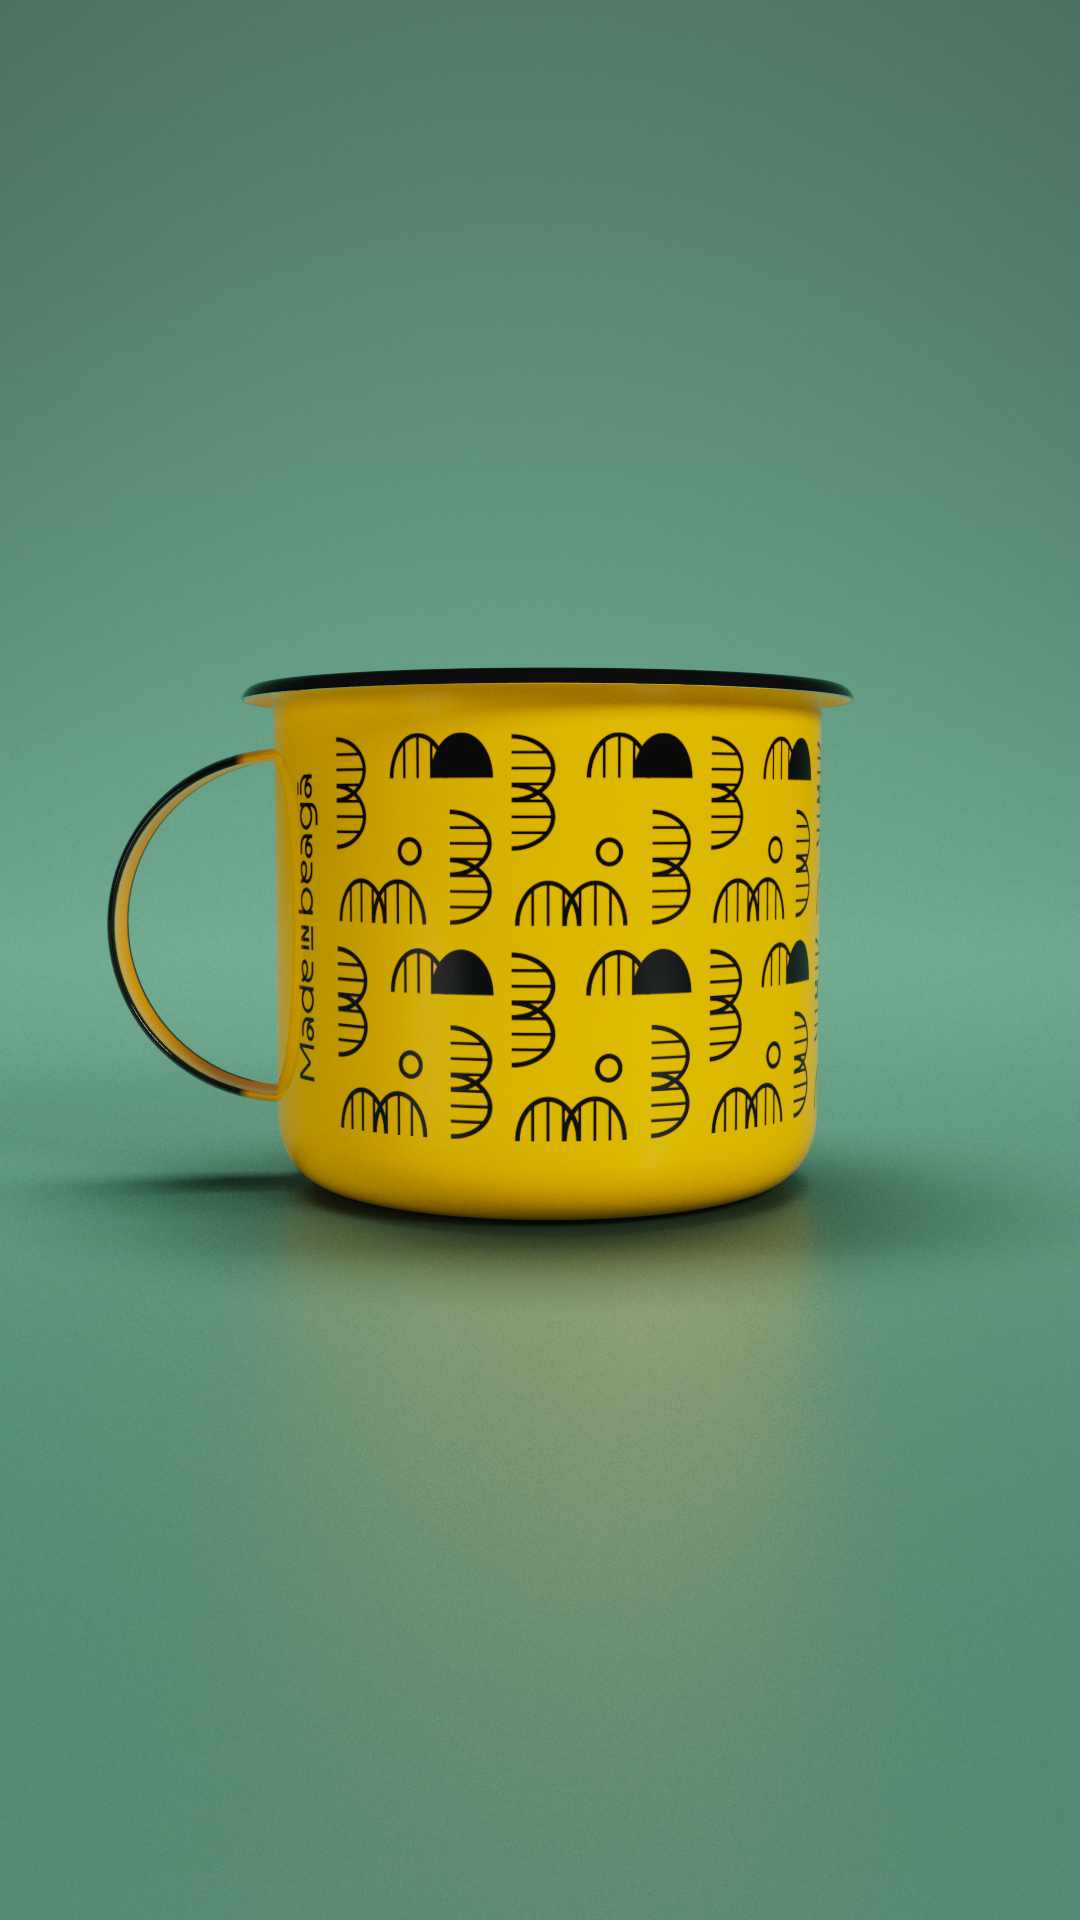
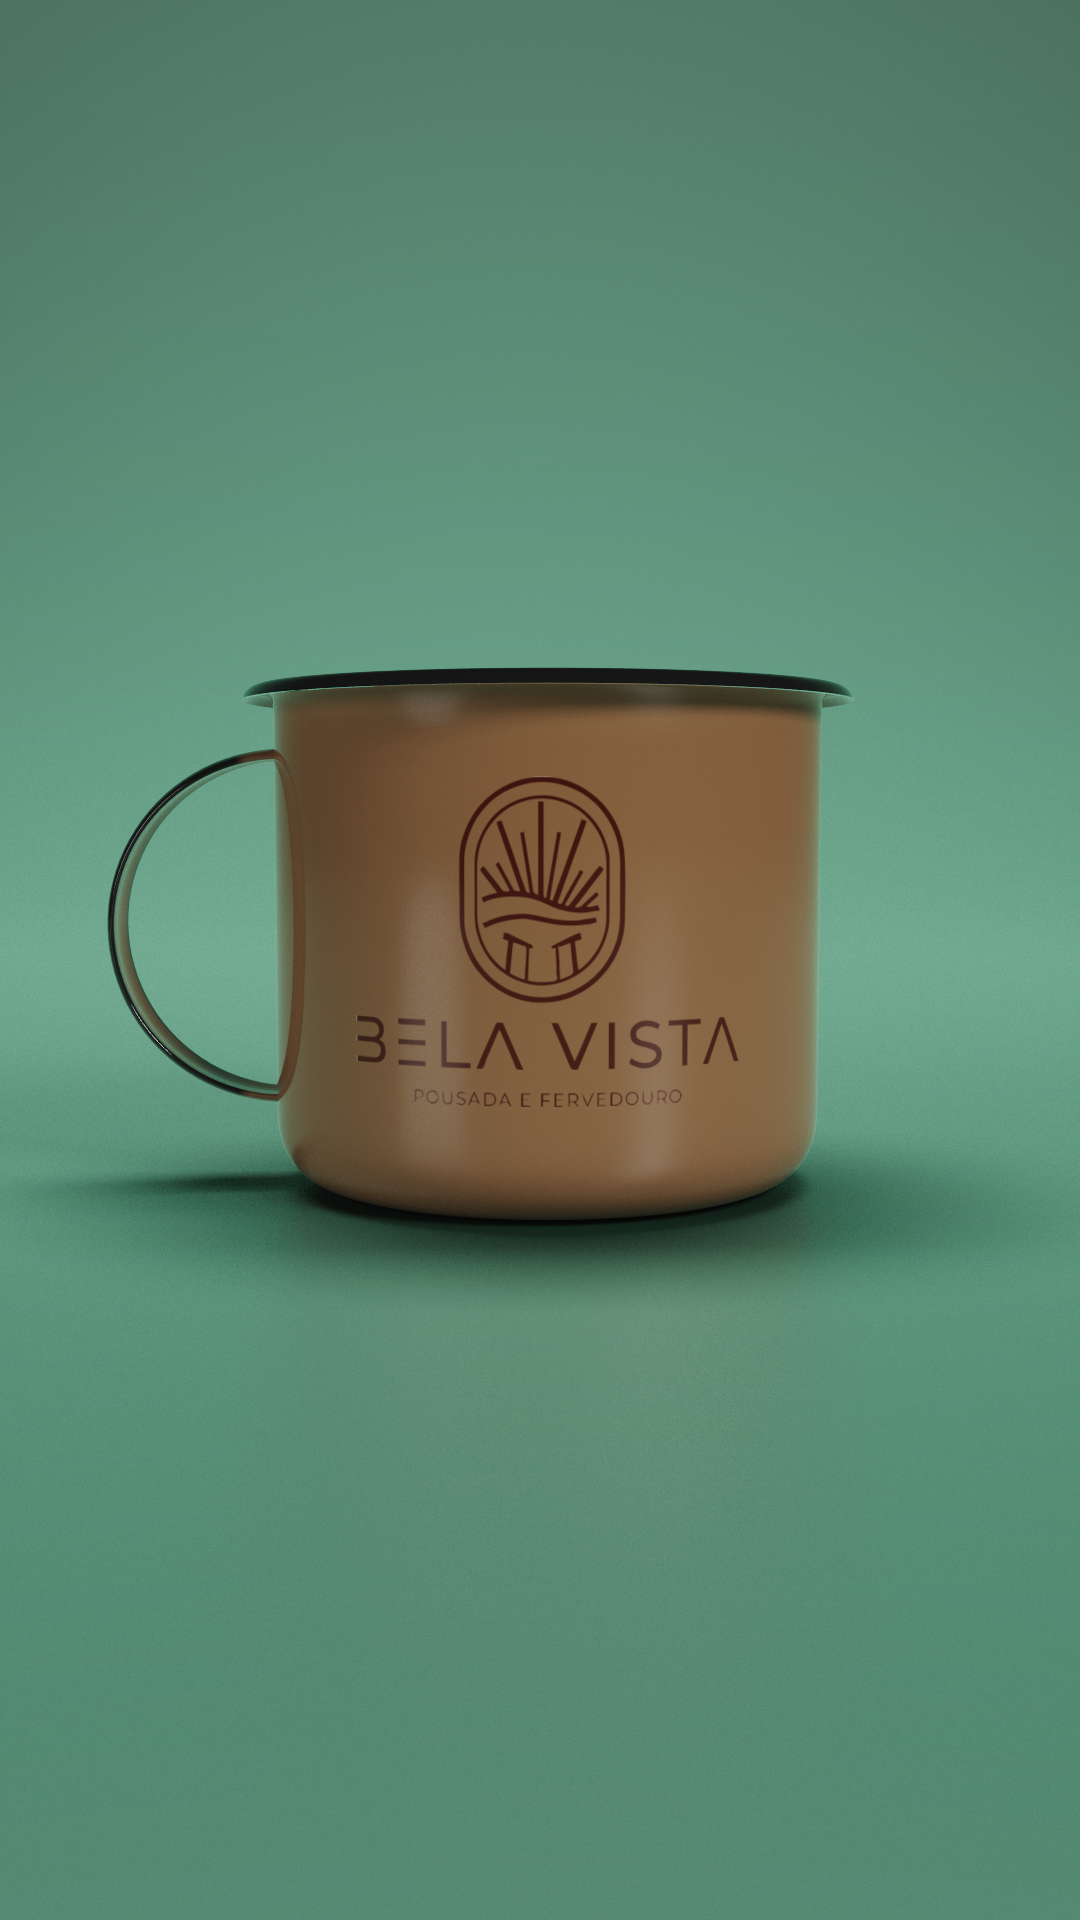
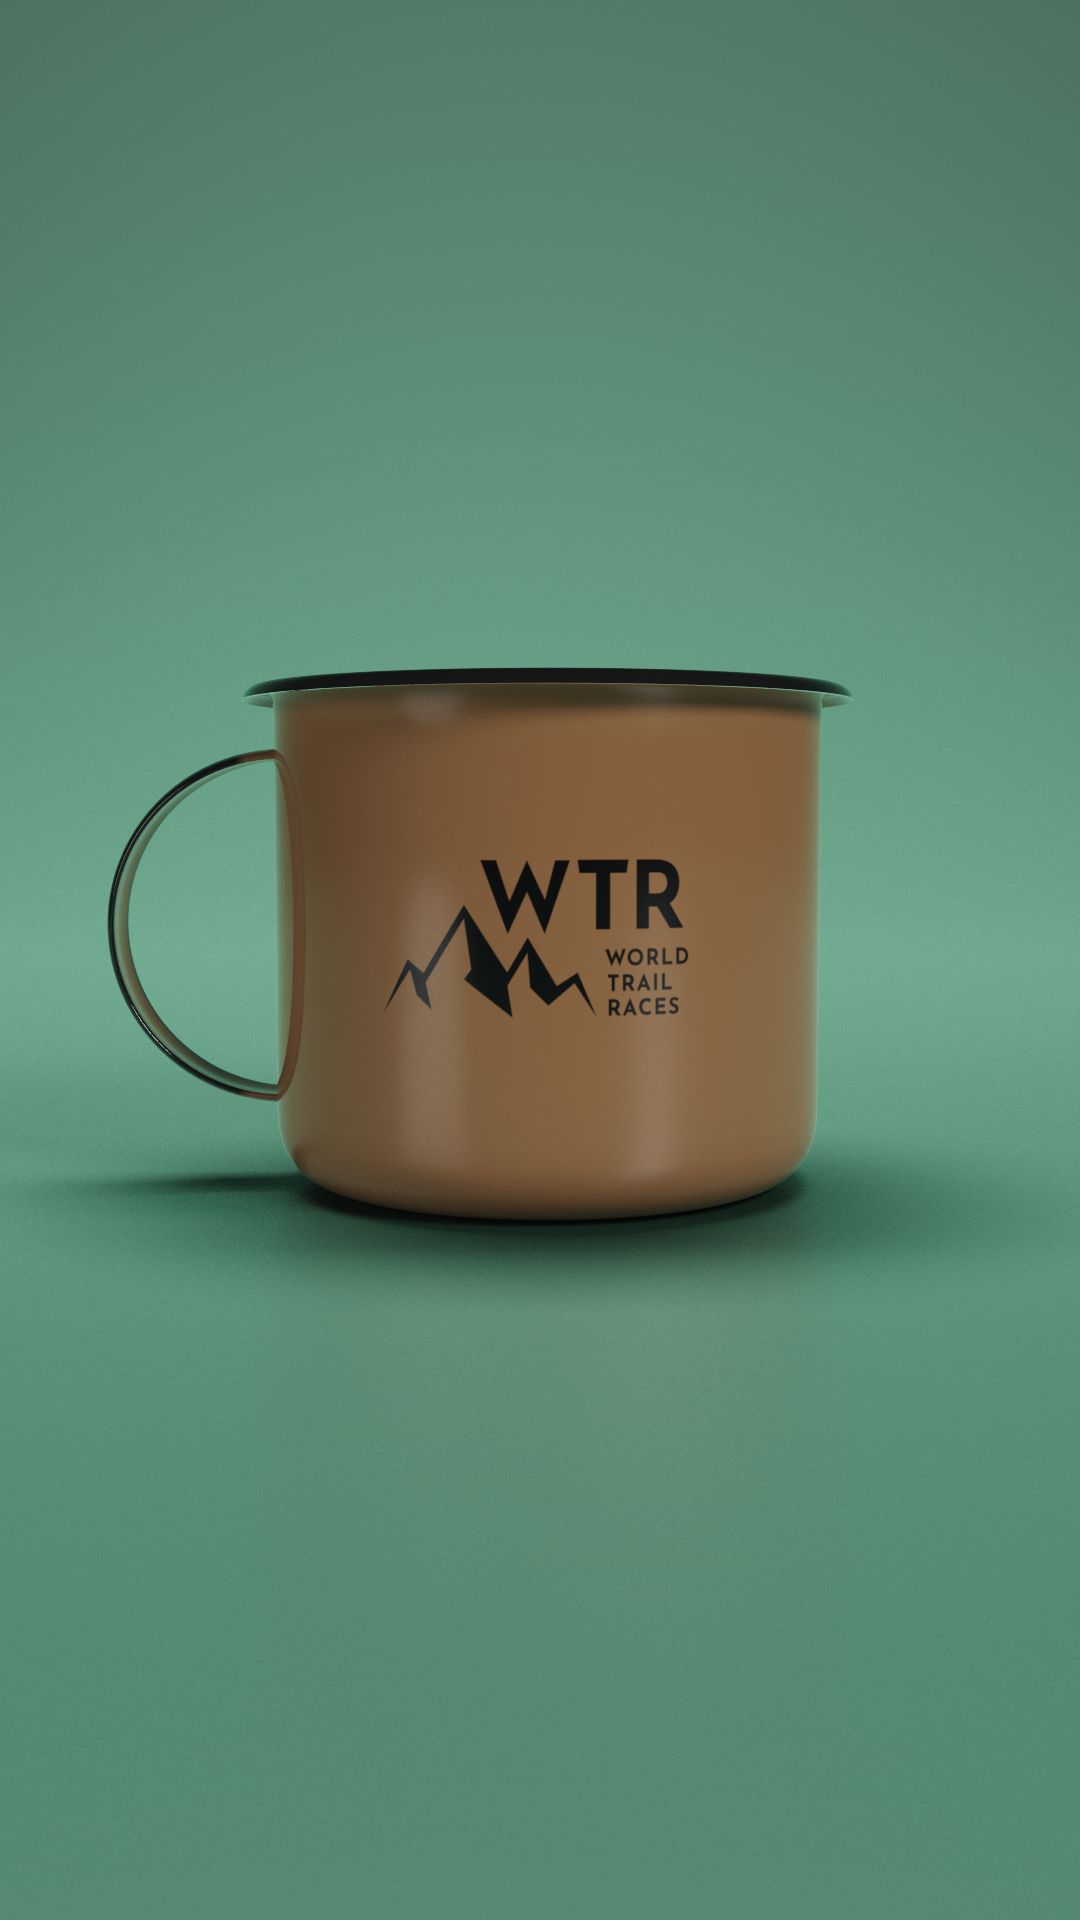
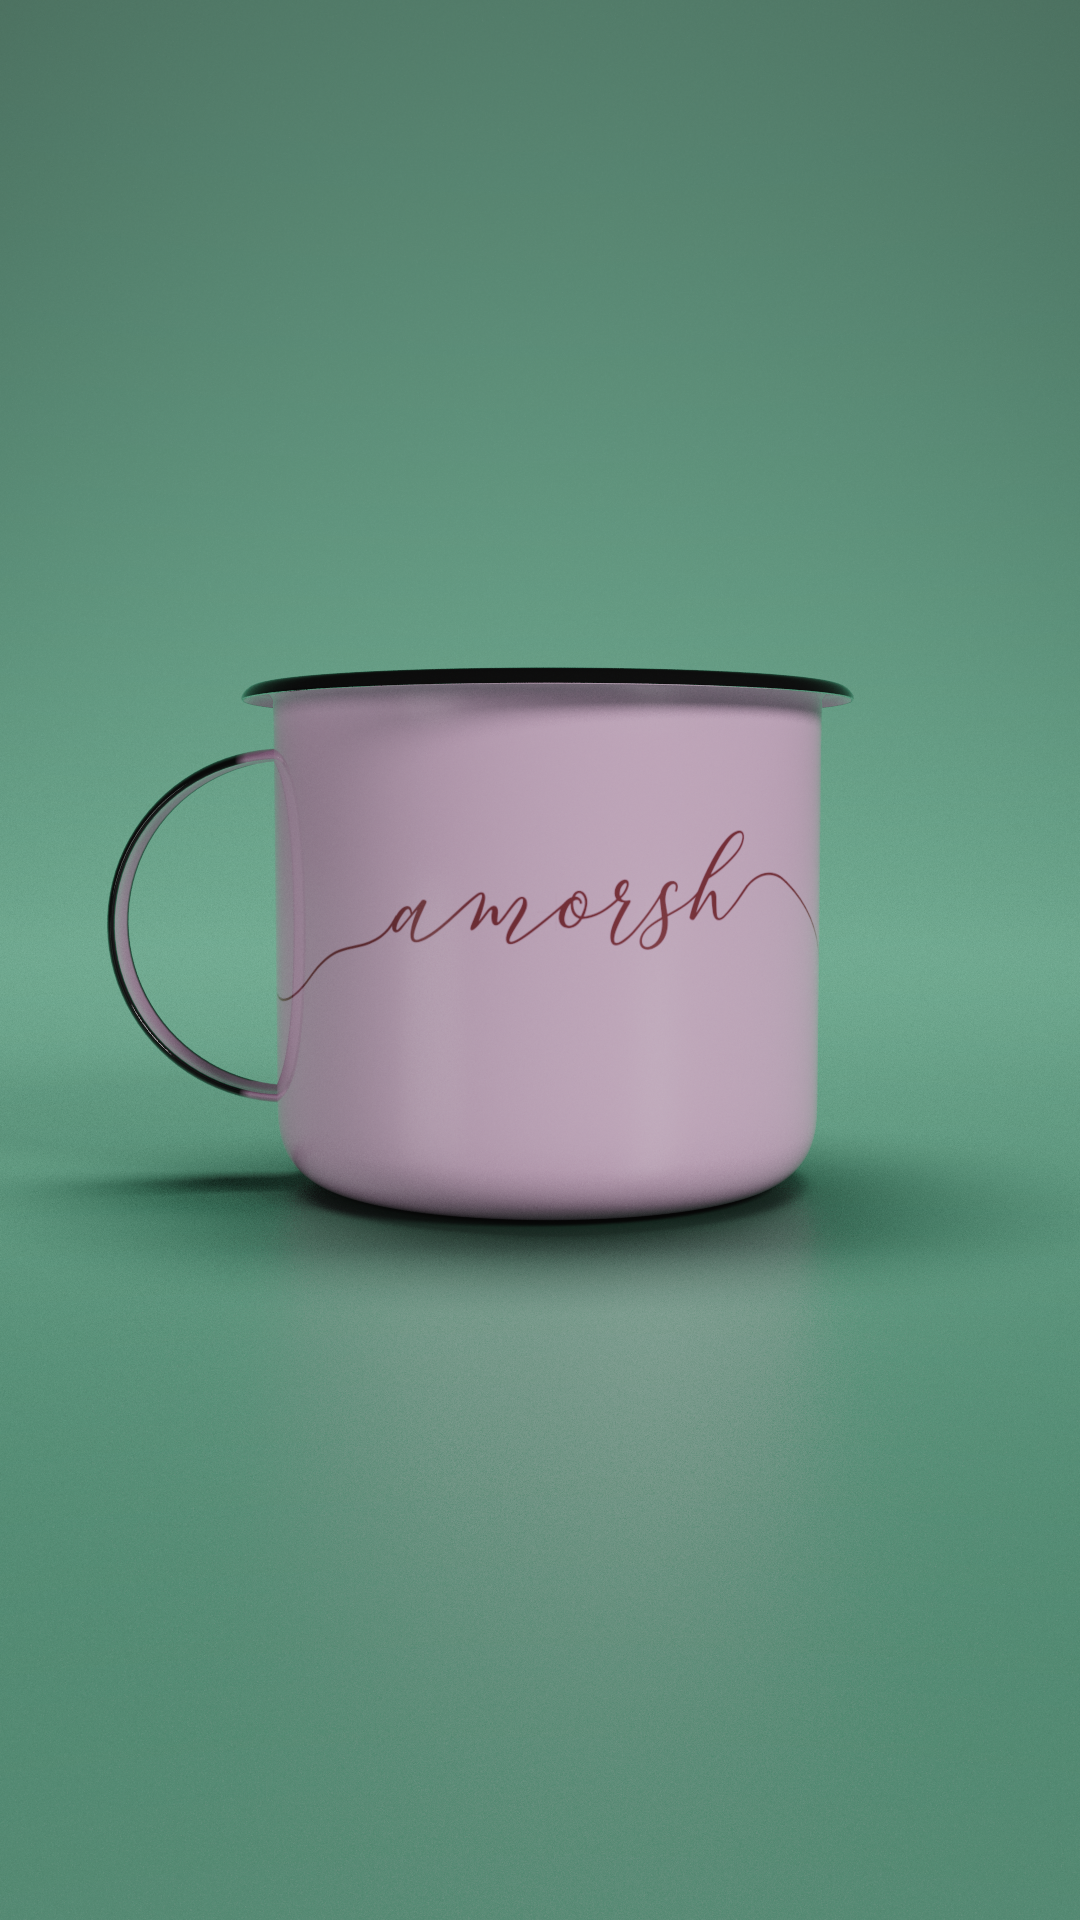
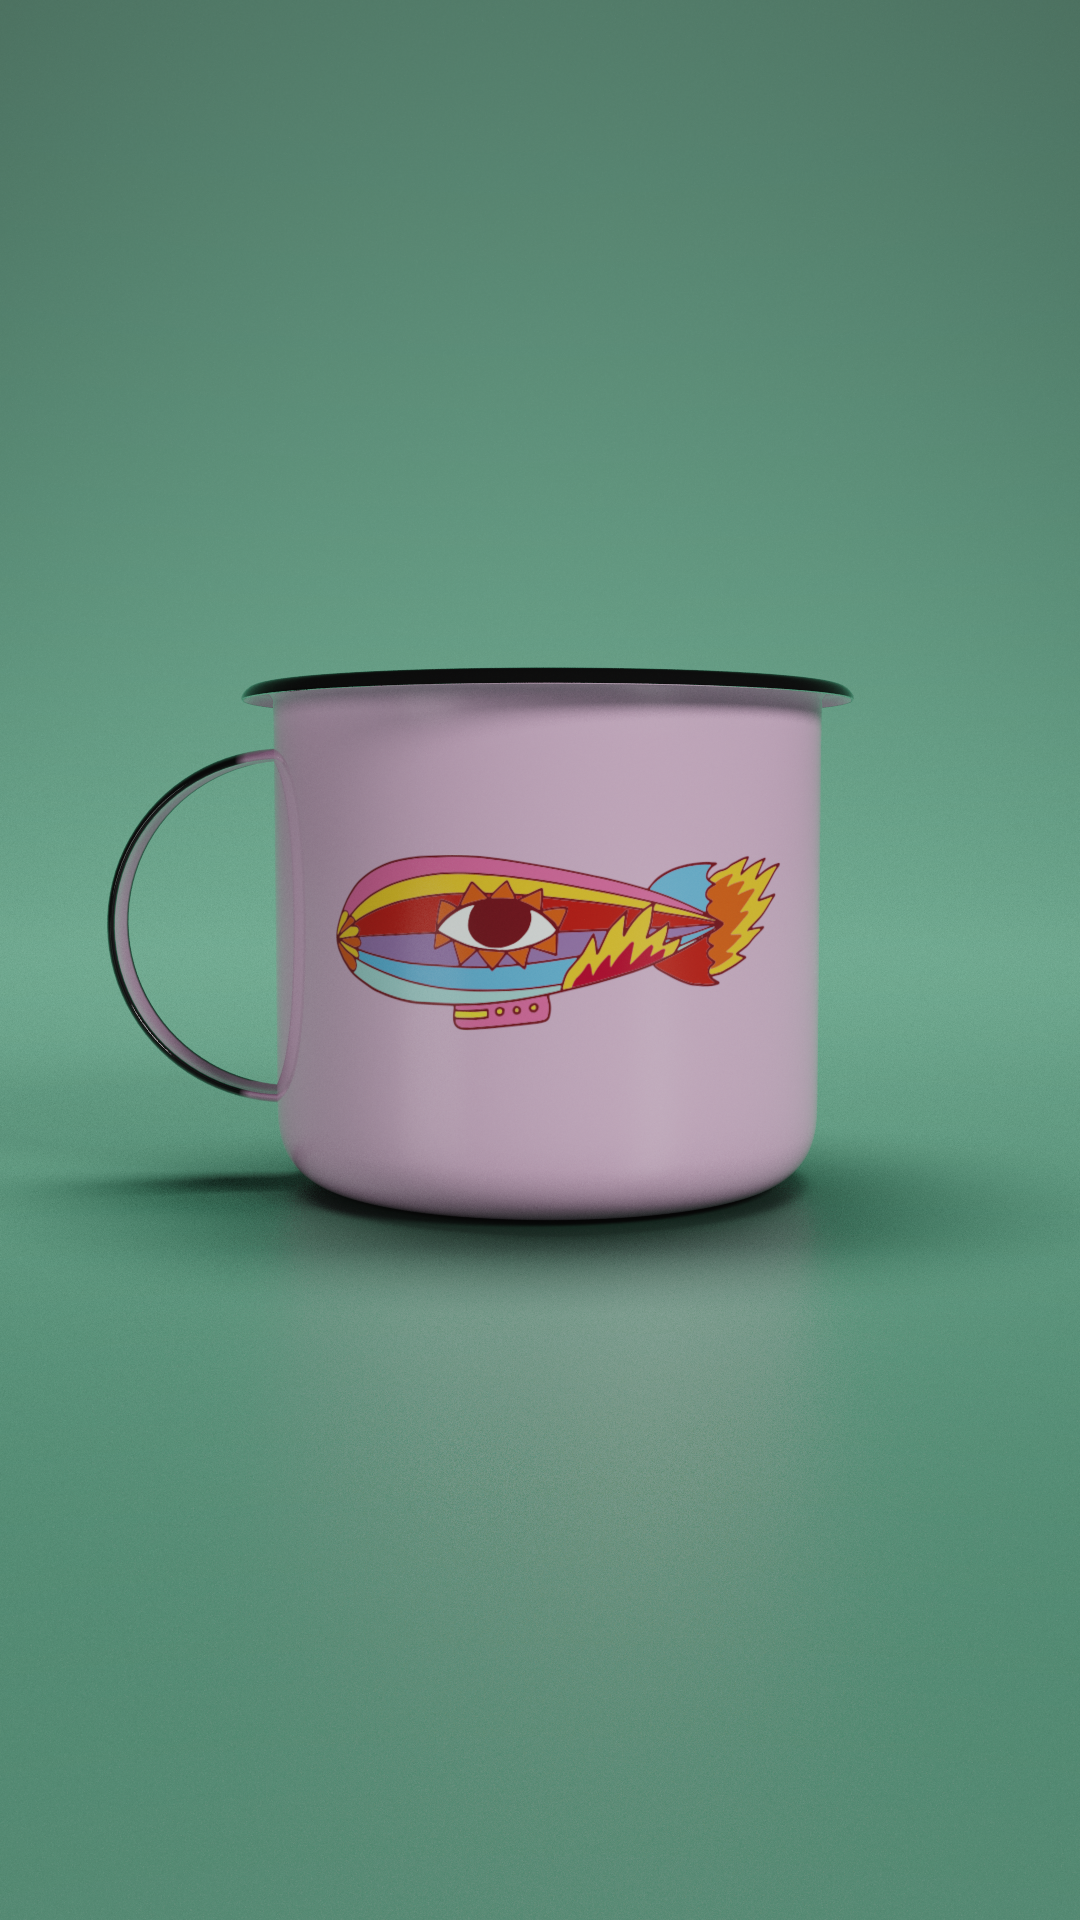
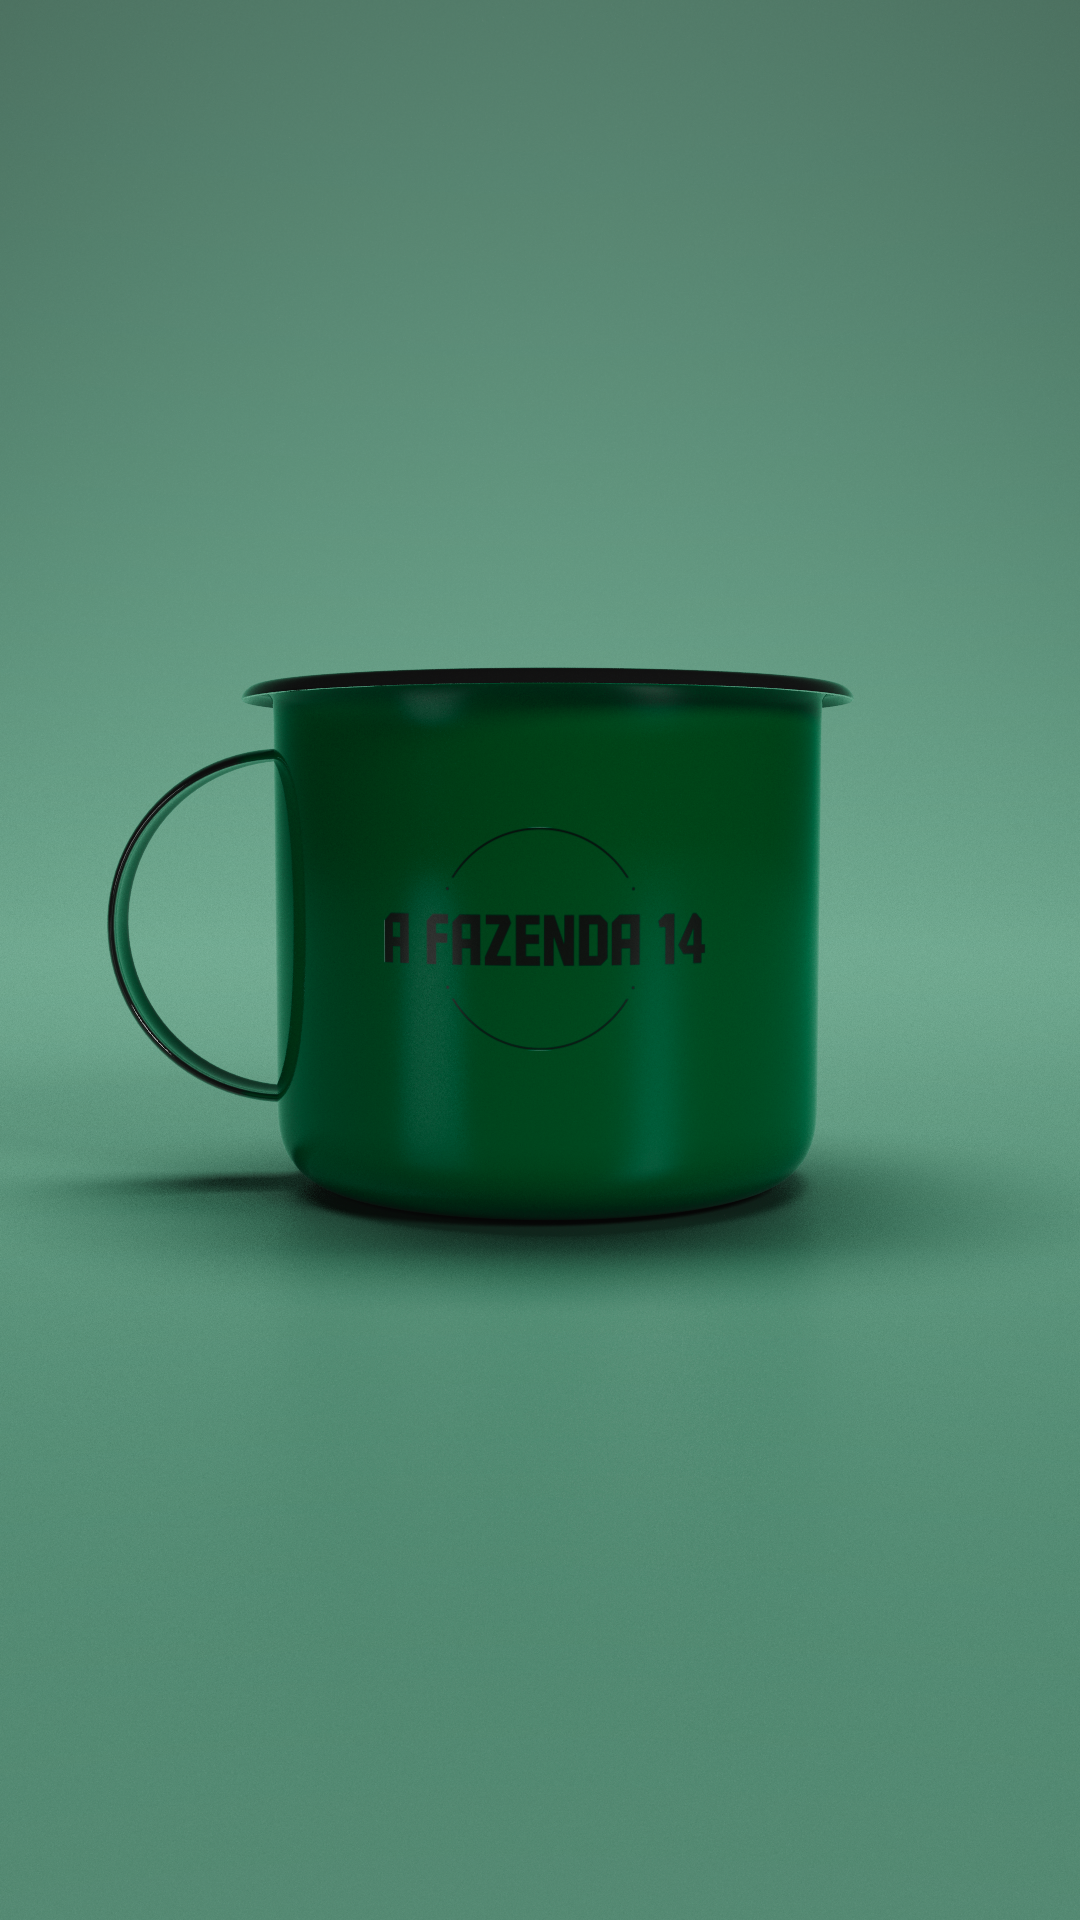
Since Cane.Co sells customizable mugs, the goal was to present the variety of possibilities available, while showcasing the results provided for some of it's clients.
The brand works with eight different mug colors in which the client can choose to apply their arts.

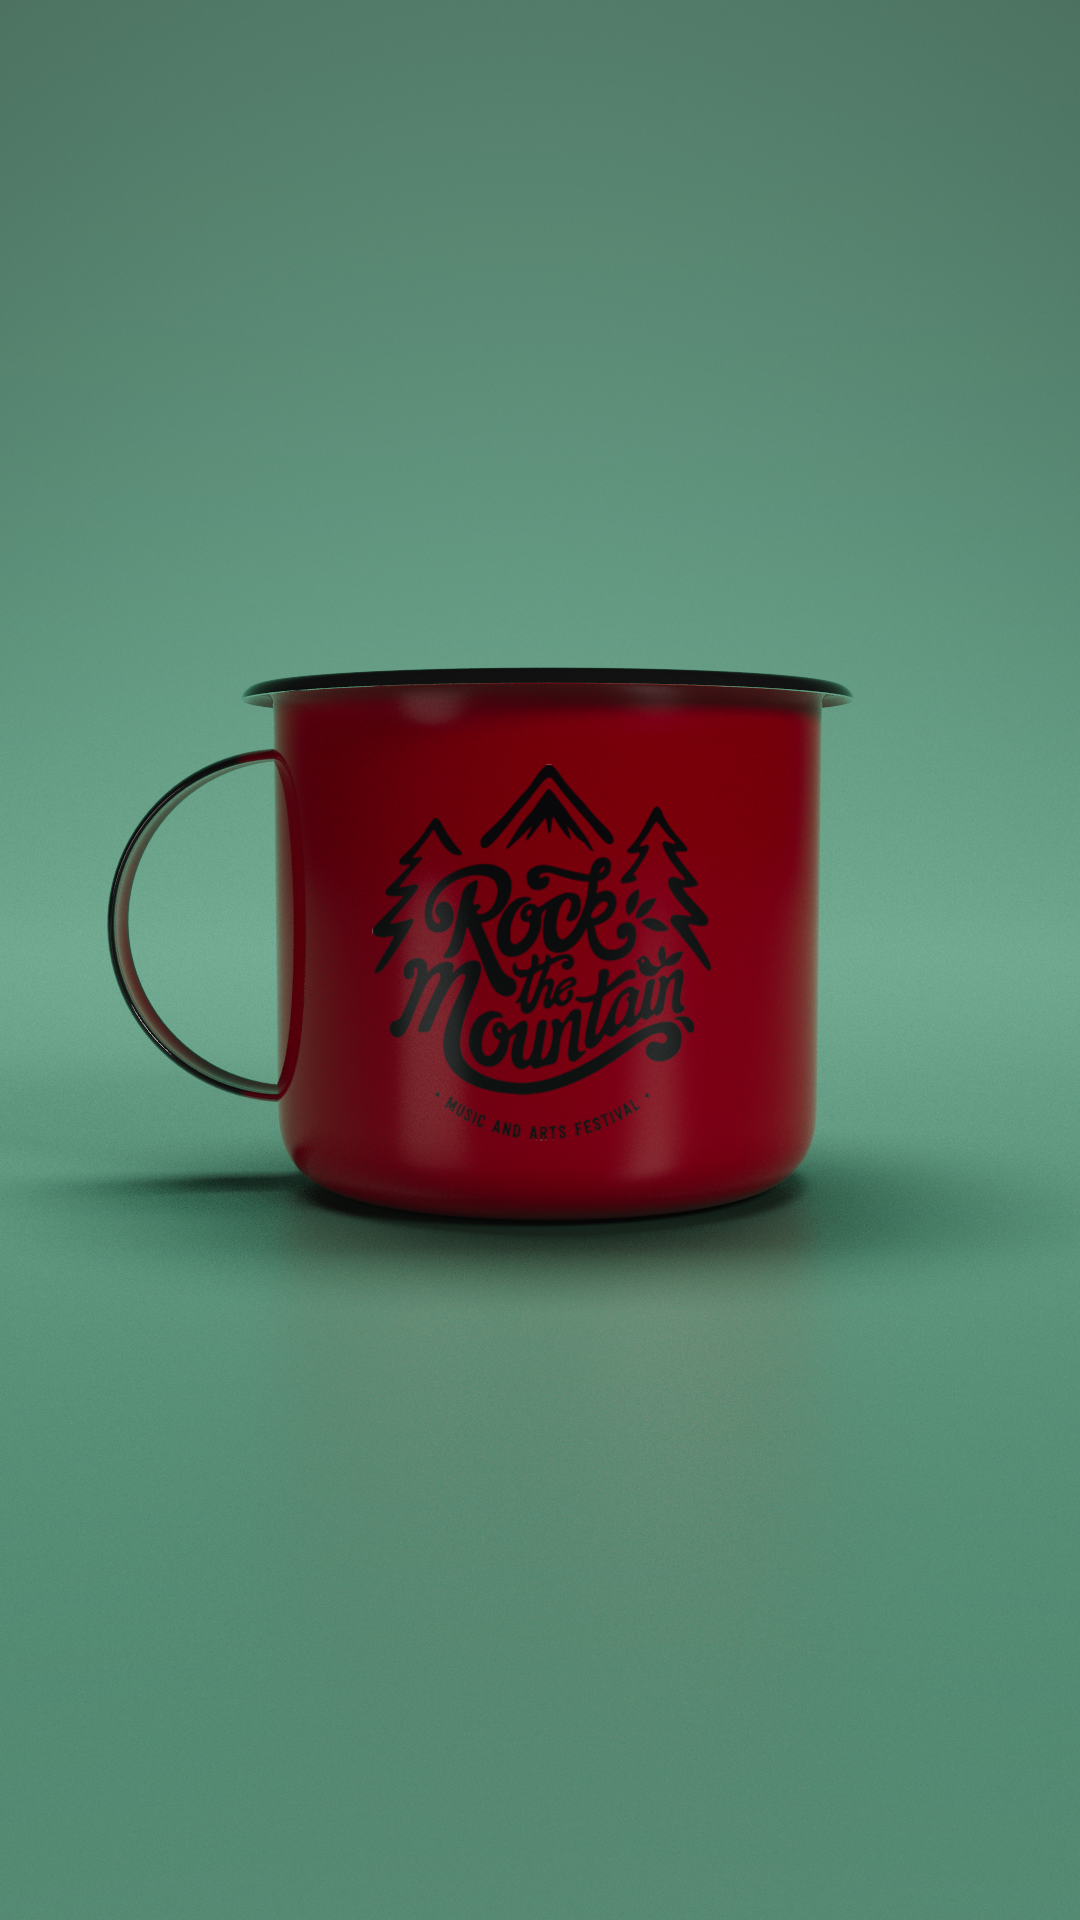
The Setup in Houdini
I developed a setup that uses one single packed object and instance it with different shaders (each shader for a diferent mug color). Inside each of those there are multiple stamps as image textures that automatically changes accordingly to it's Stamp ID.
Explaning:
1. There is a master Color ID responsible to select the shader for each mug color.
2. Each shader uses the Stamp ID to automatically locate each of the stamps available for the respective mug color, respecting the mug color each stamp must have.
3. Finally, each packed object used has it's own ID, which is resposible to provide the total amount of mugs to be scattered around in each effect without repeating any of the stamps.
First Scene - Testing the Setup
The first scene was quite simple. The client should be able to present the mugs in the order she pleased, therefore I animated and rendered 40 different mugs/stamps that were mixed in the compositing, allowing me to build multiple short videos presenting a small group of mugs each time, while my client could choose which mugs should go in each video.
The Animation:
Each spin should bring a different mug and for that I opted to animate everything with CHOP Nets. Each rotation and change of ID come straight from the CHOP net. In the end, everything would be rendered in a single batch.
Doesn't matter how many mugs I had, they should be animated without any keyframe, avoiding mistakes and speeding up the process.

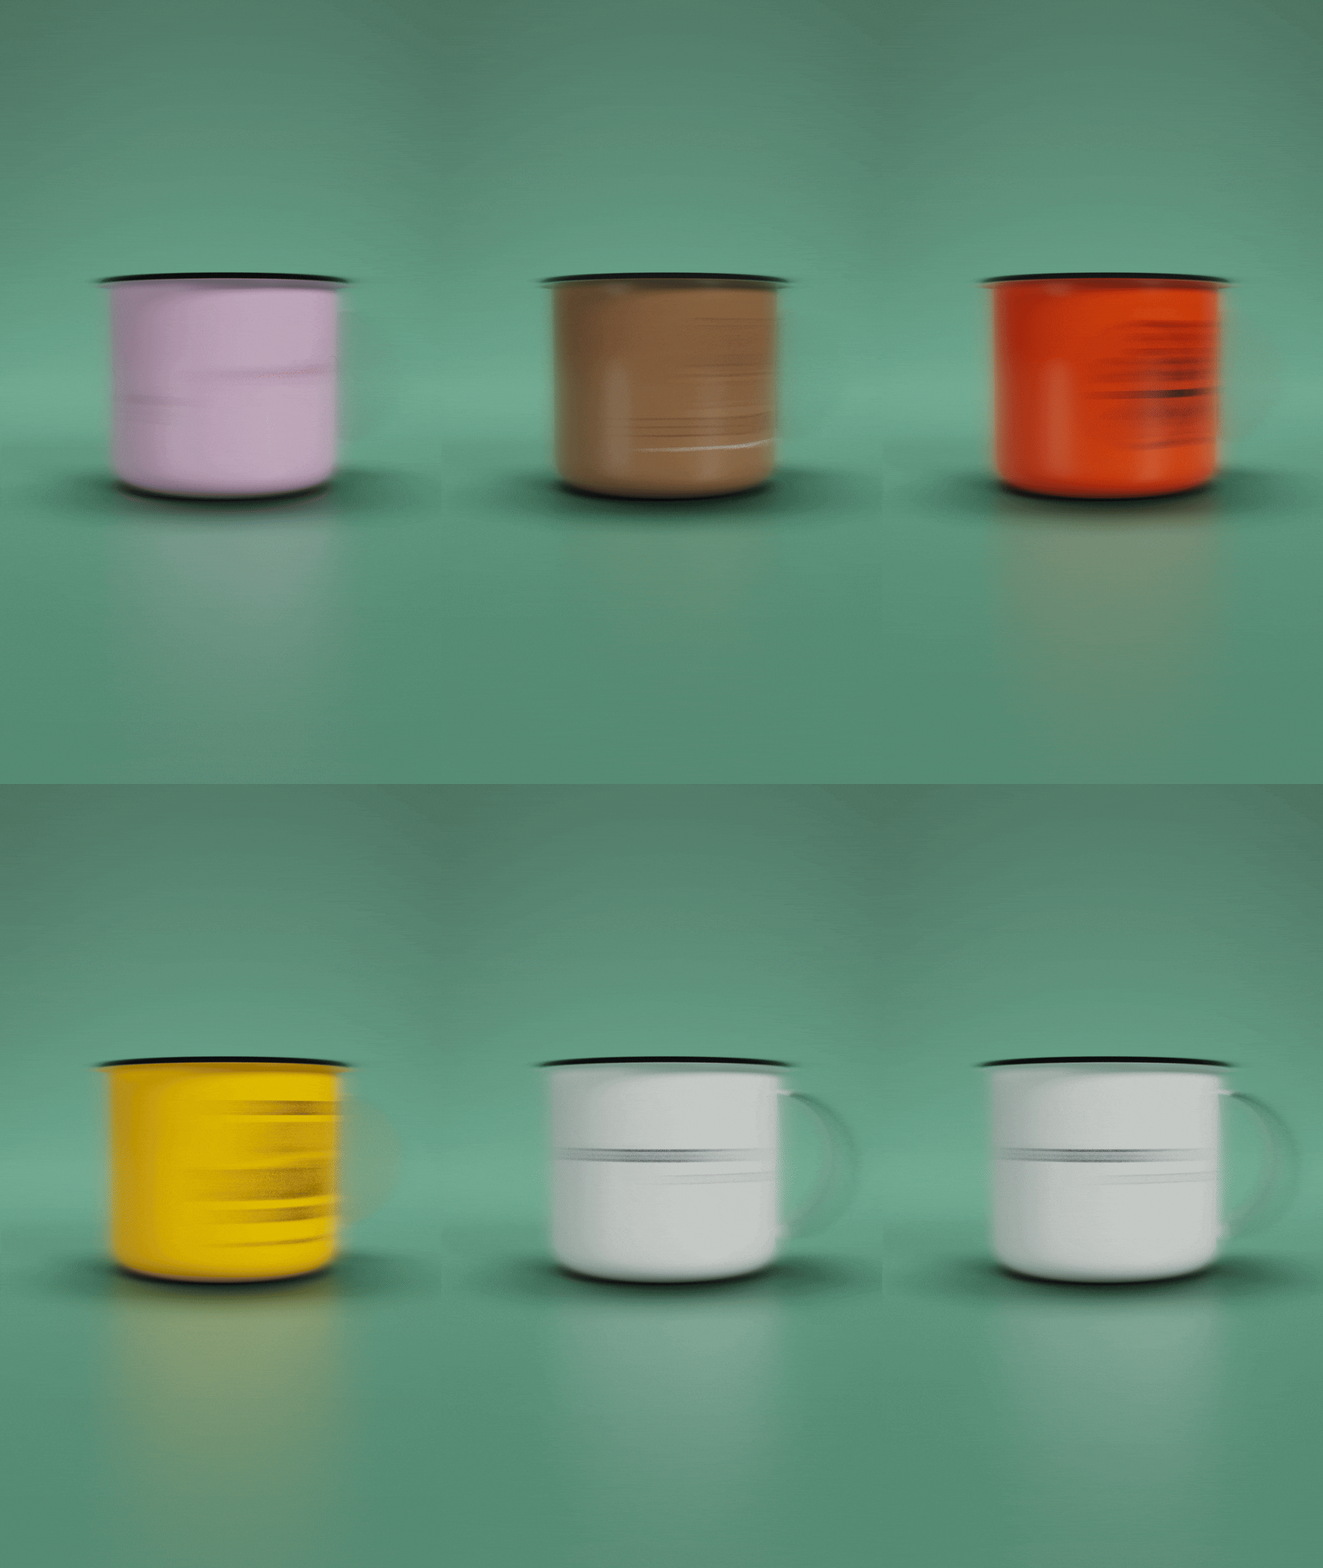
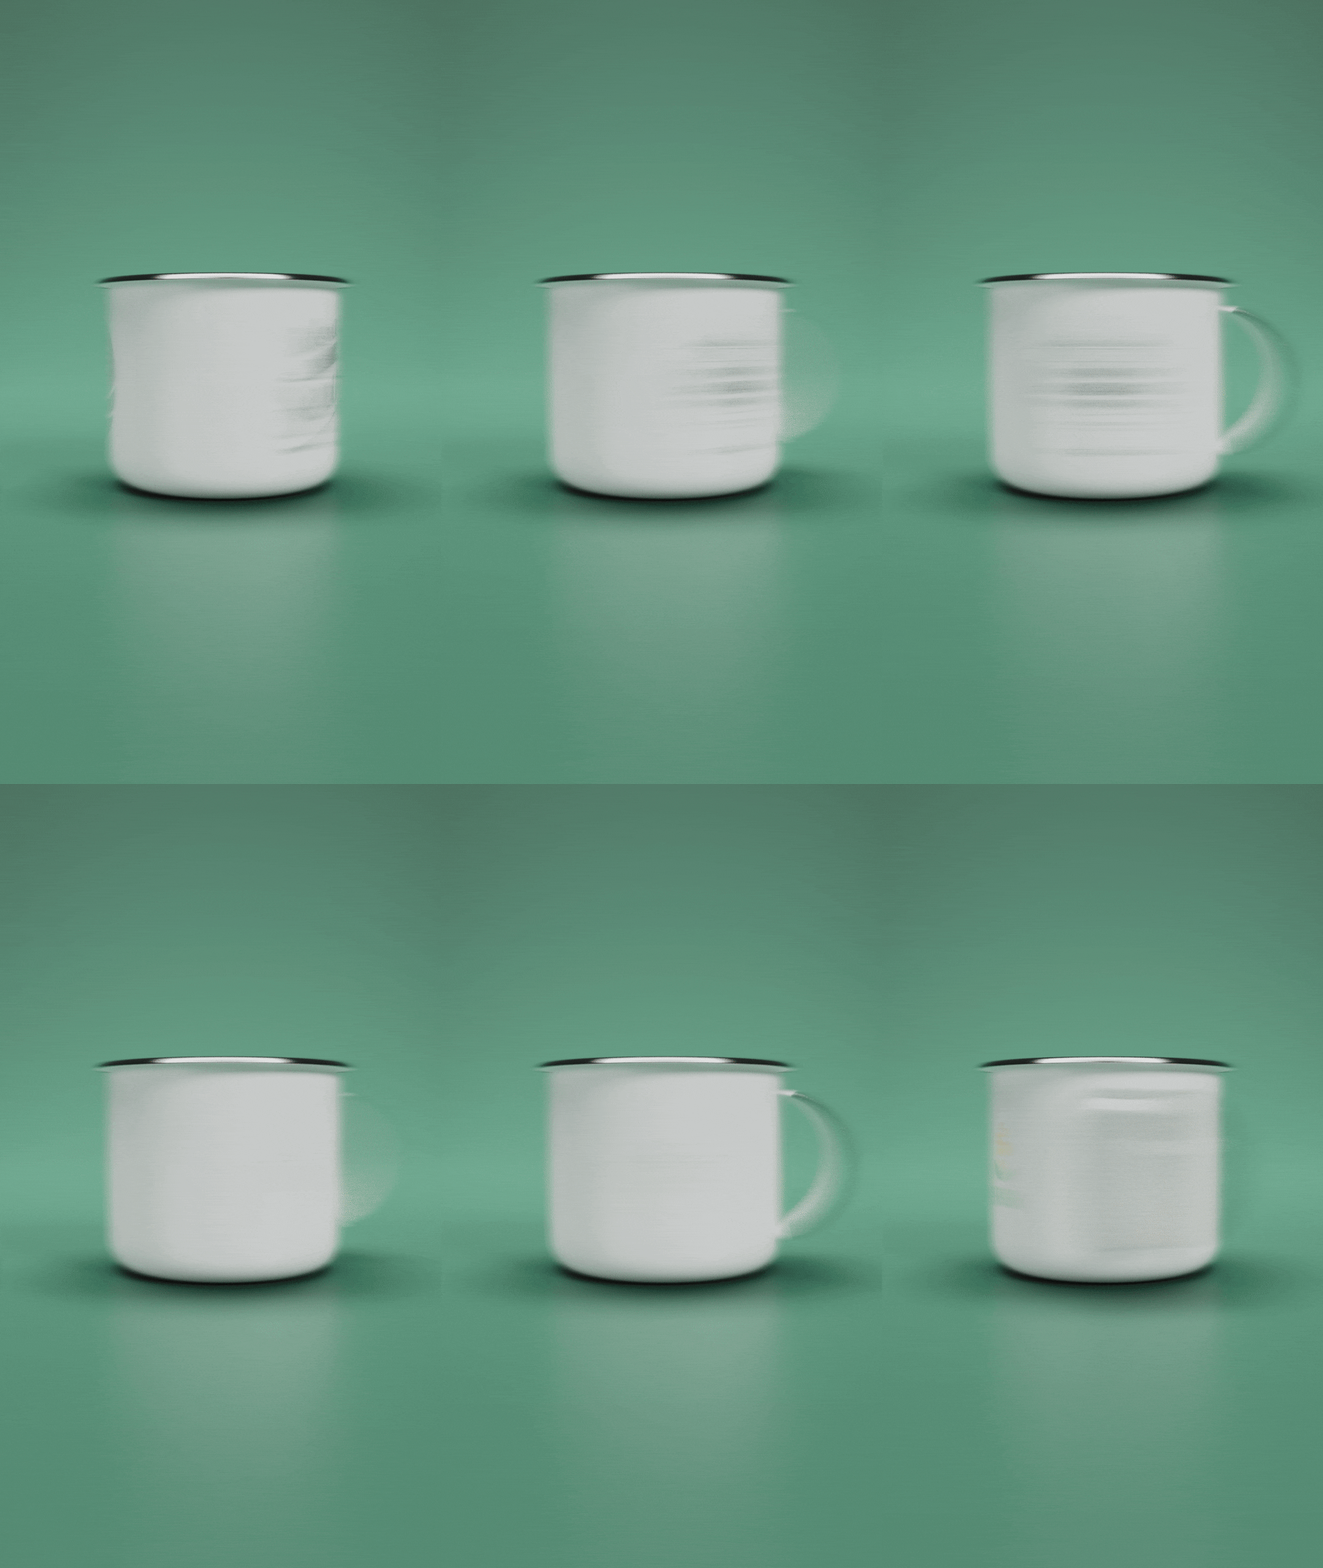
In order to use less texture informations, I had two options while coloring each mug:
One driven by a single texture (used by the white mug) which goes through a RS Ramp resposible to control the final color of each mug. The second was using the color attribute painted on the object during modelling.
I opted mostly to use the white texture, this way I could work straight on the packed object. When driving the color through the color attribute, the objects had to be unpacked, what heavily impacted the performance of the RBD Sim.
Inside Houdini
Here you can see the setup for setting each of the different IDs of each mug, the control for the amount of stamps per color and how each instance was directed to it's respective shader.
Setting the different IDs to control the shaders and stamps.
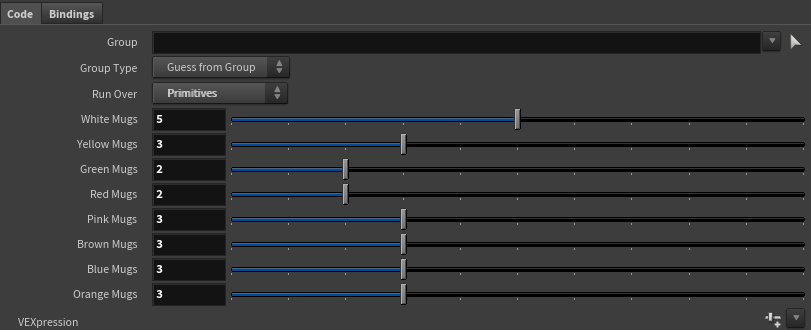
Controller for the amount of stamps per color
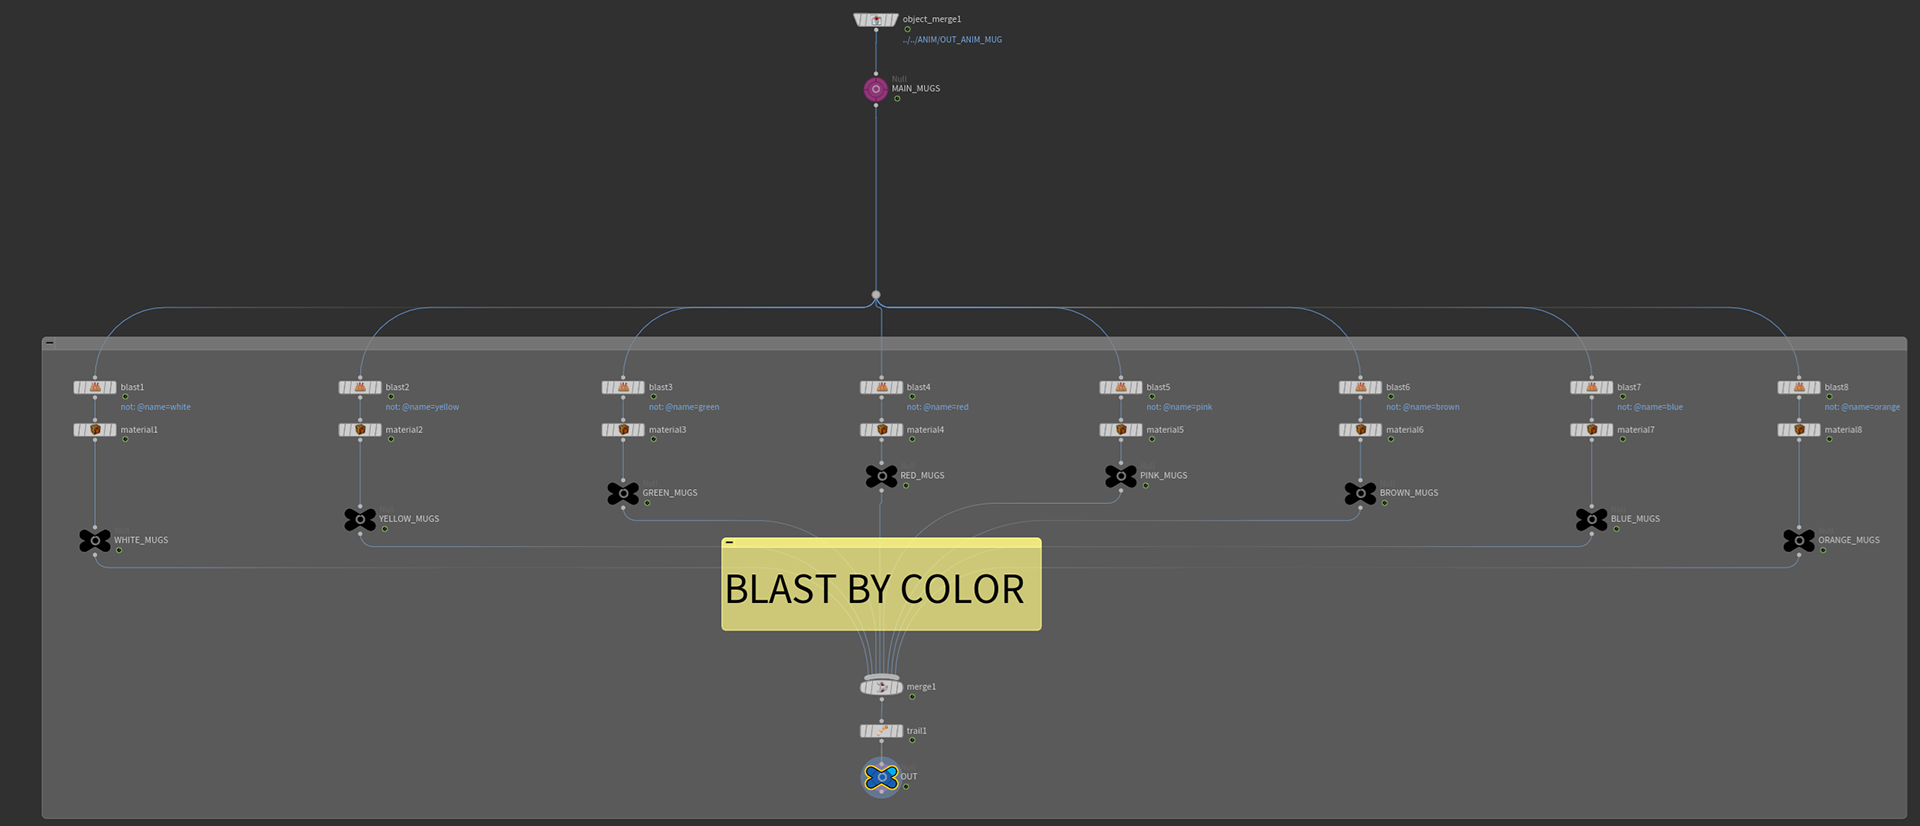
Directing each instance to it's shader
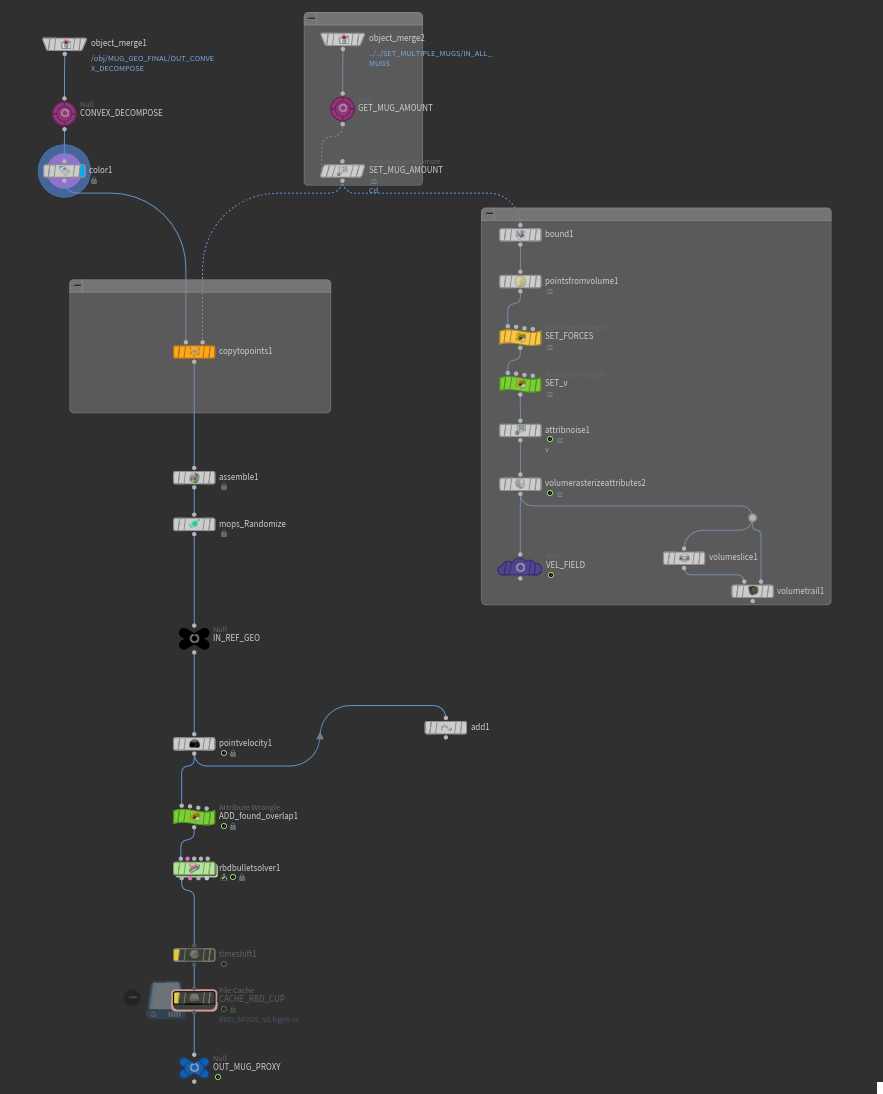
RBD Sims
With the setup working, I went straight to an RBD sim where I could set as many mugs I wanted in a simulation.
As mentioned before, I chose using textures instead of the Cd attribute to drive the mug color, otherwise I had to unpack the geometry, resulting in a heavy impact on performance.
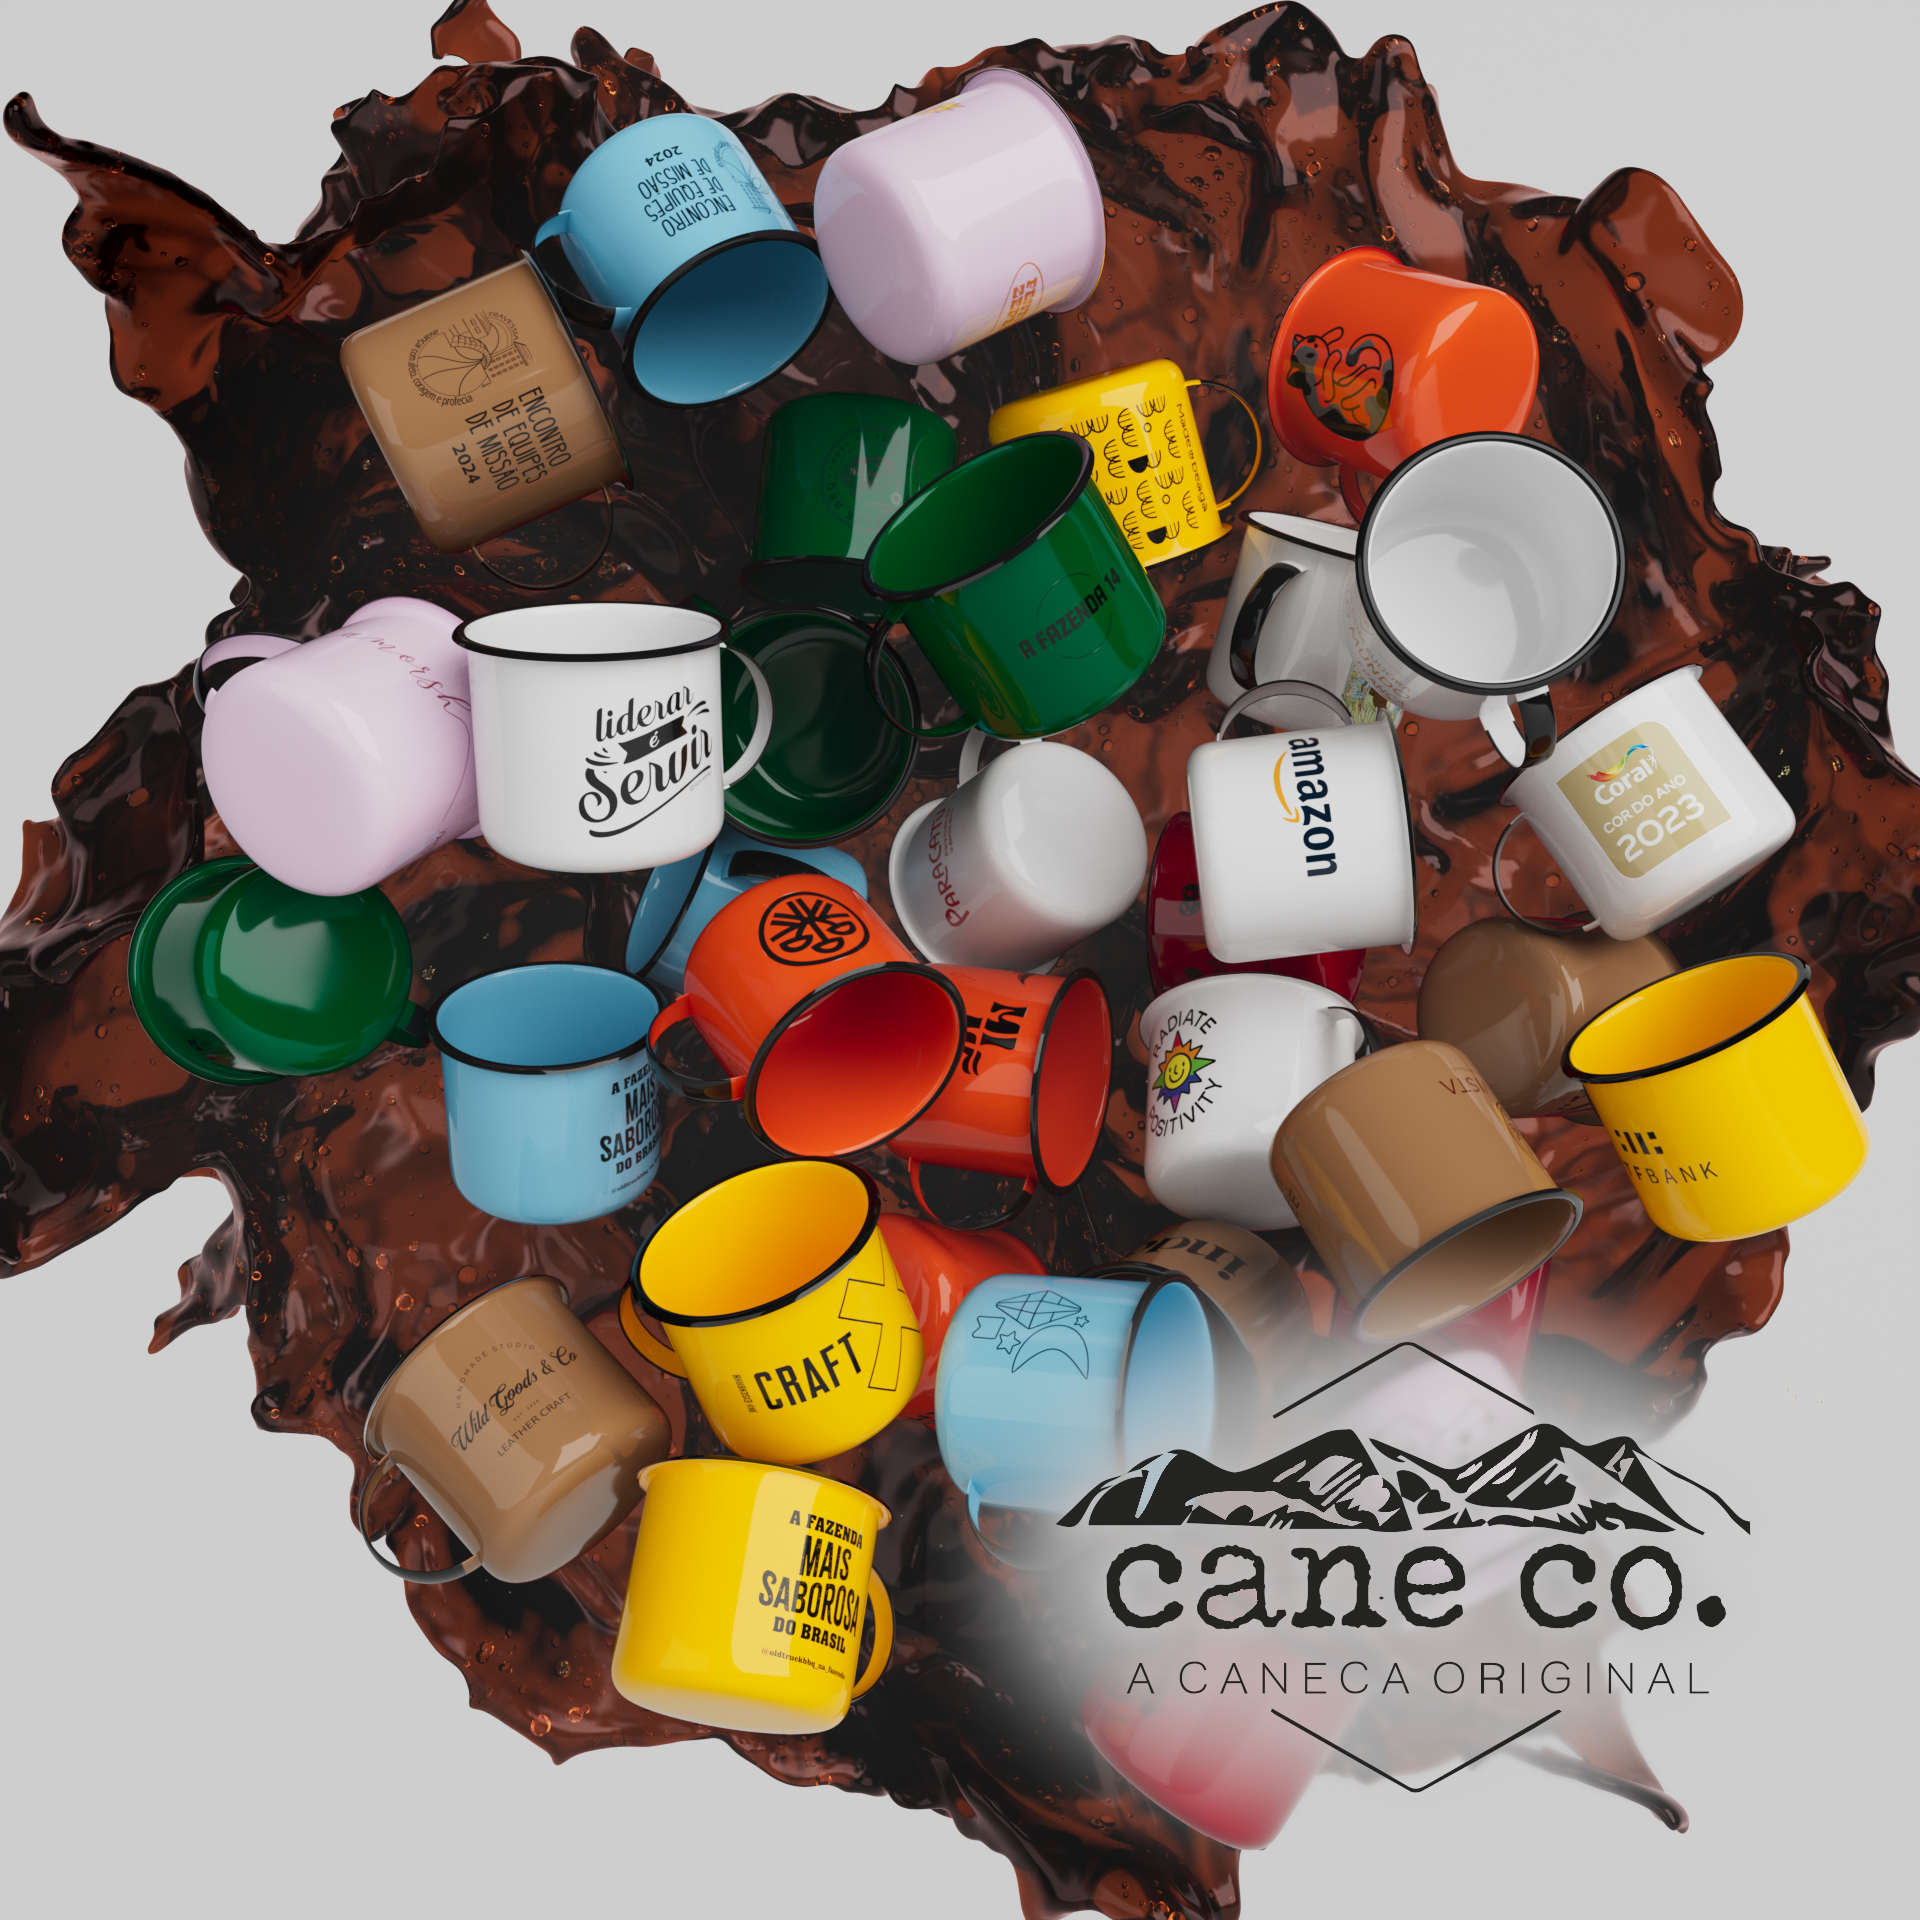
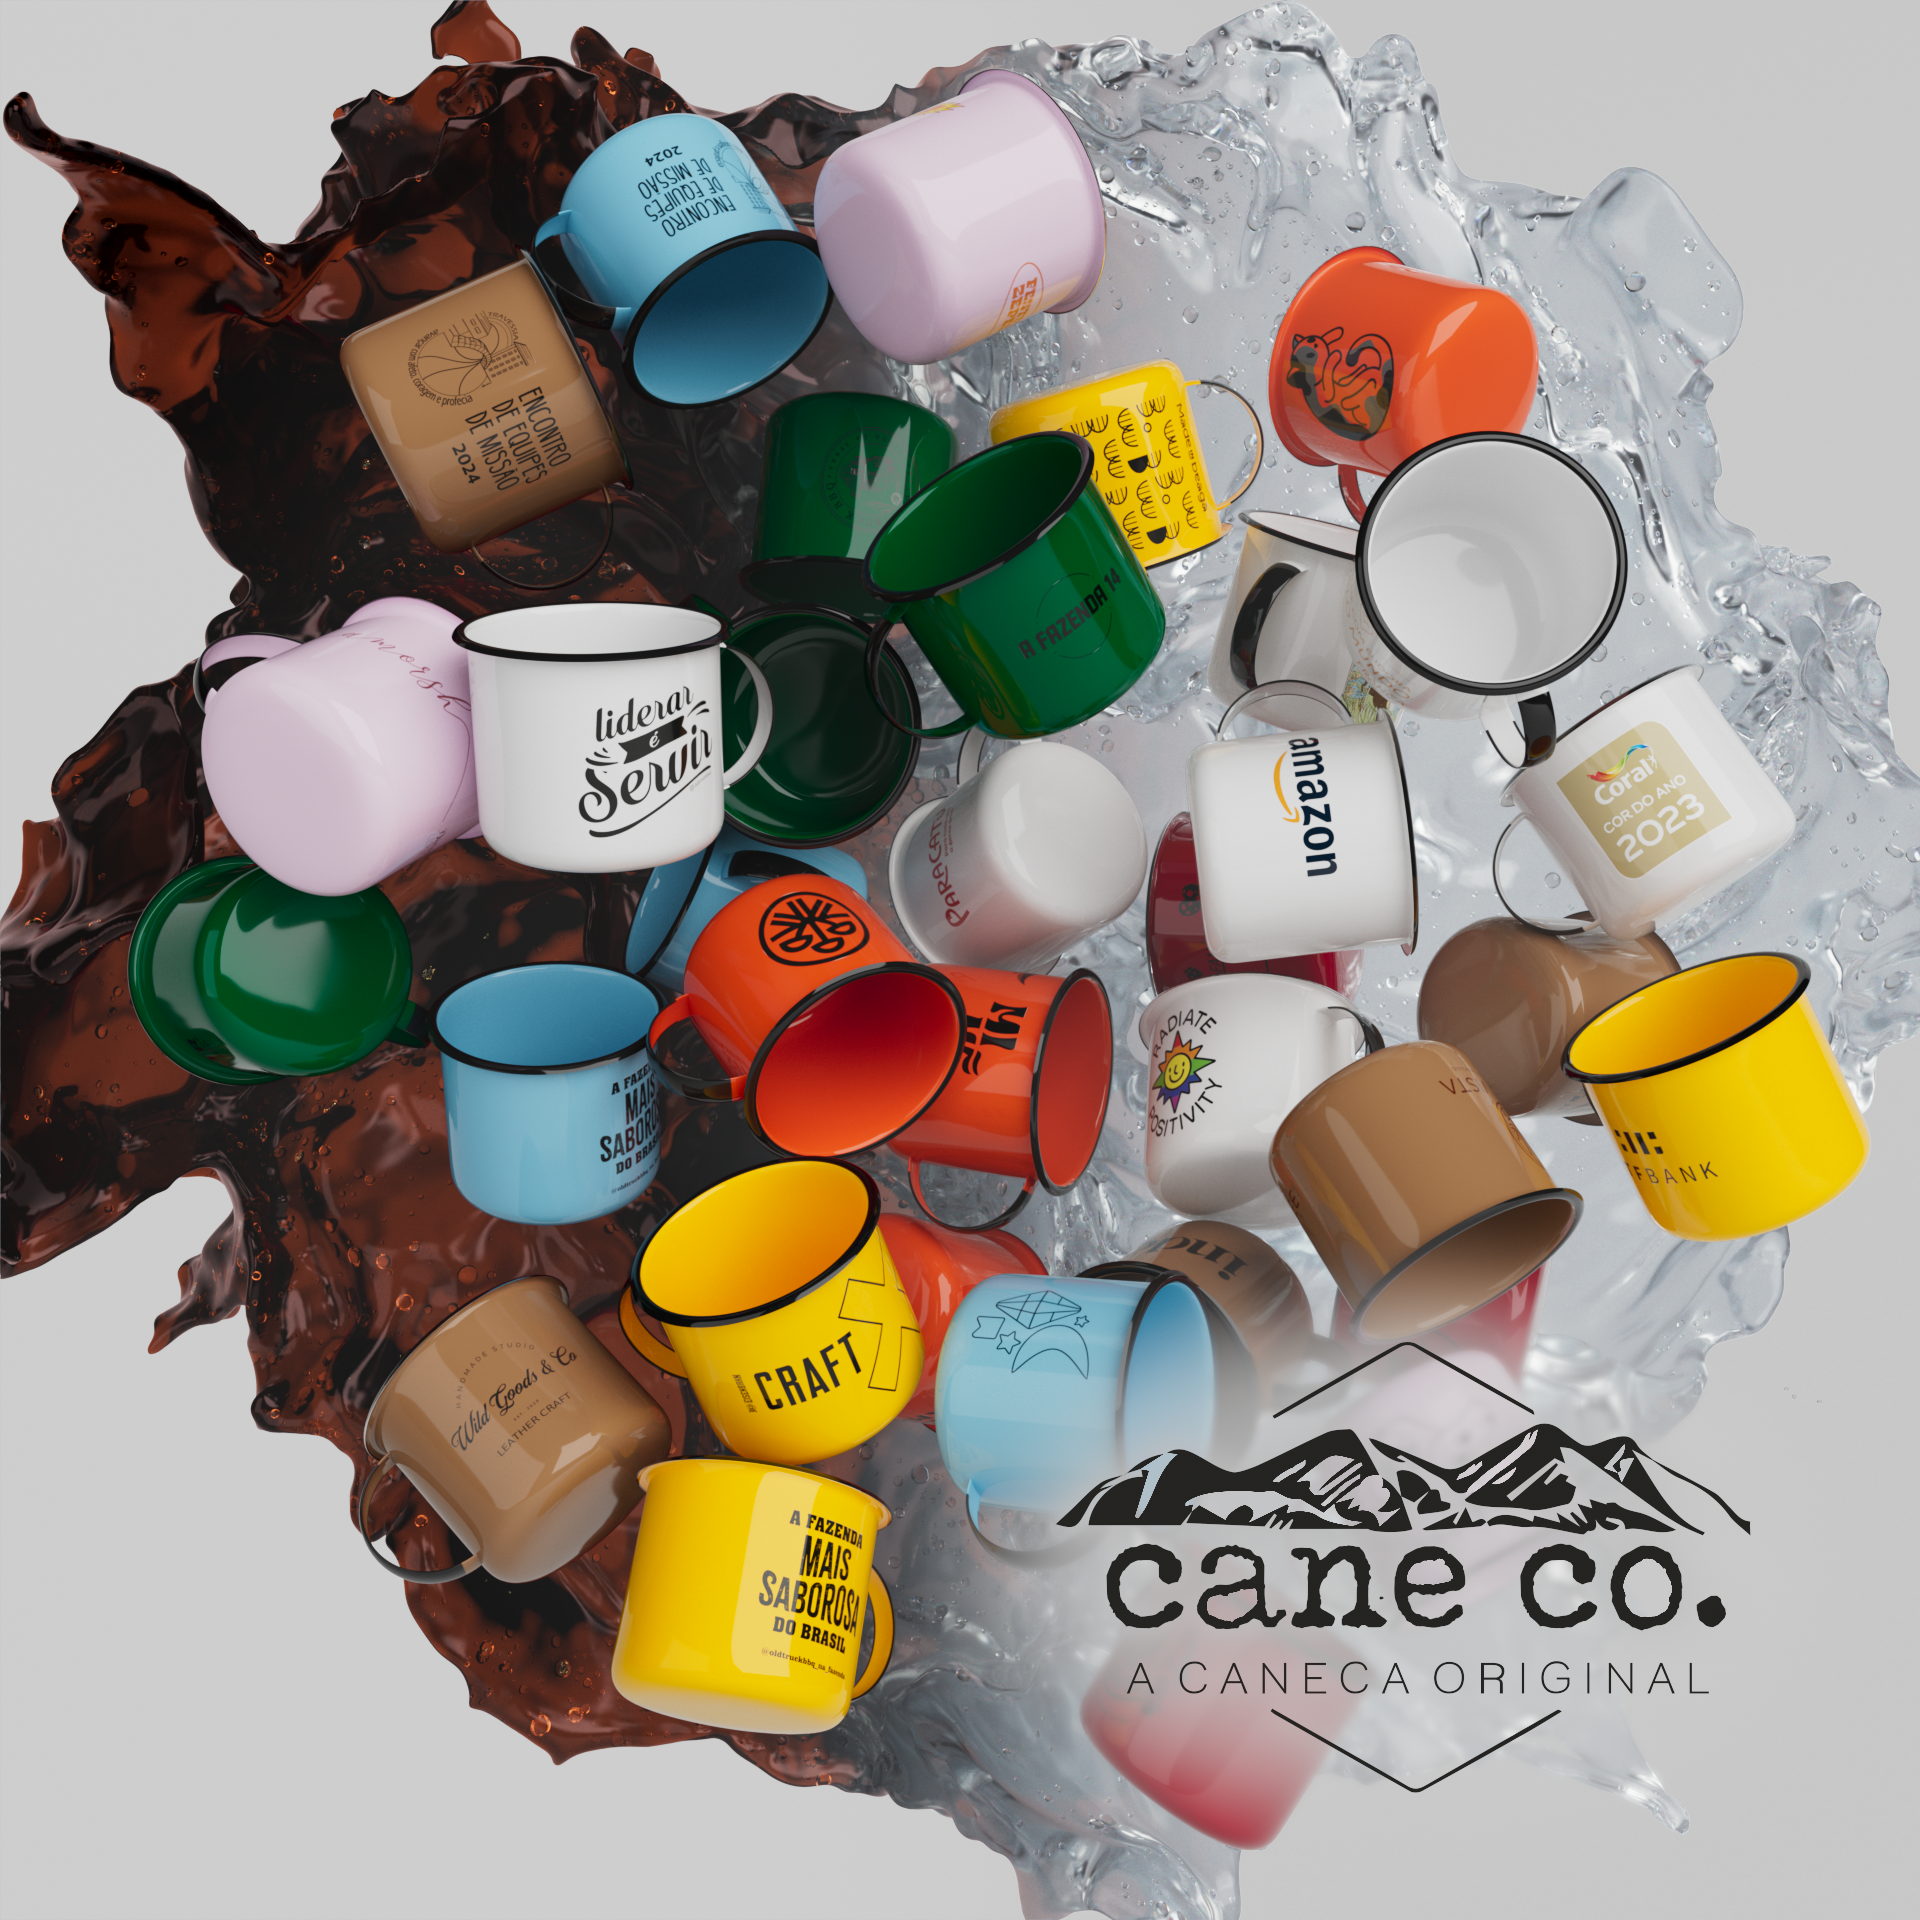
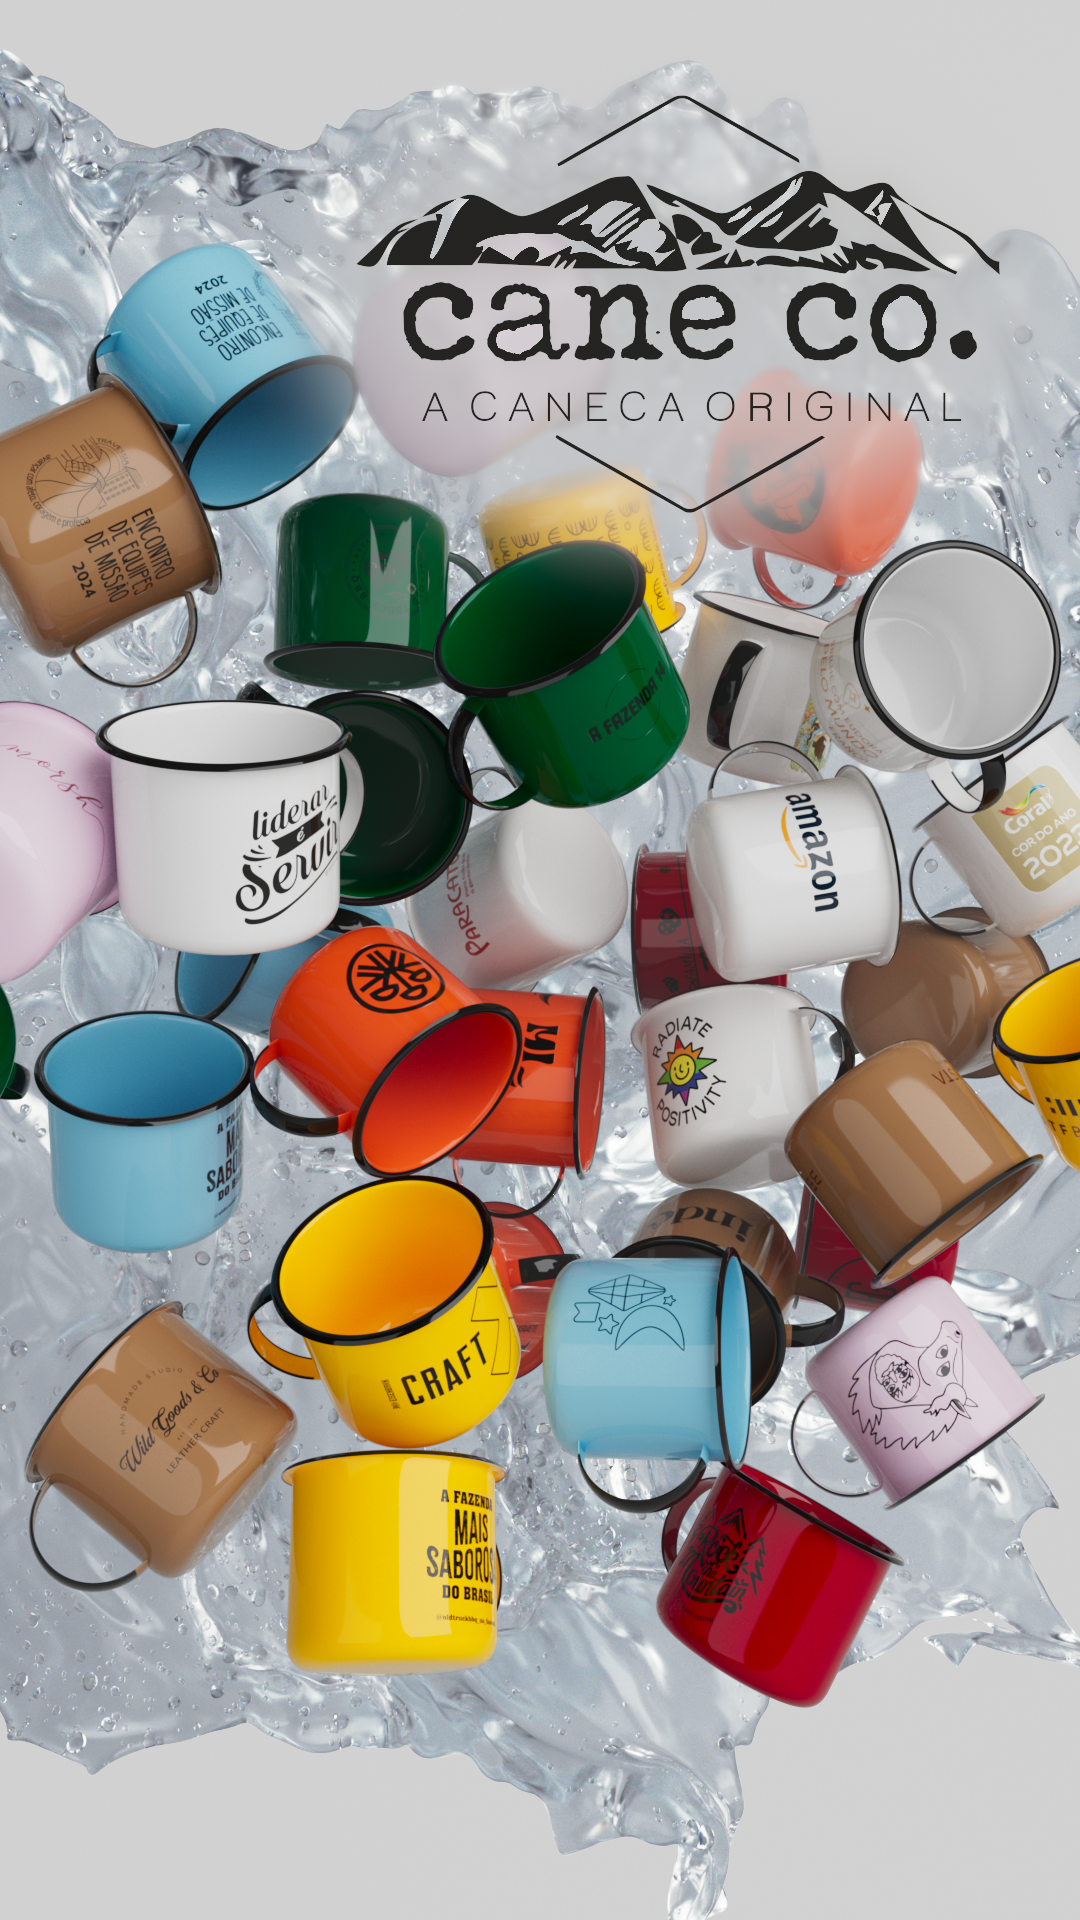
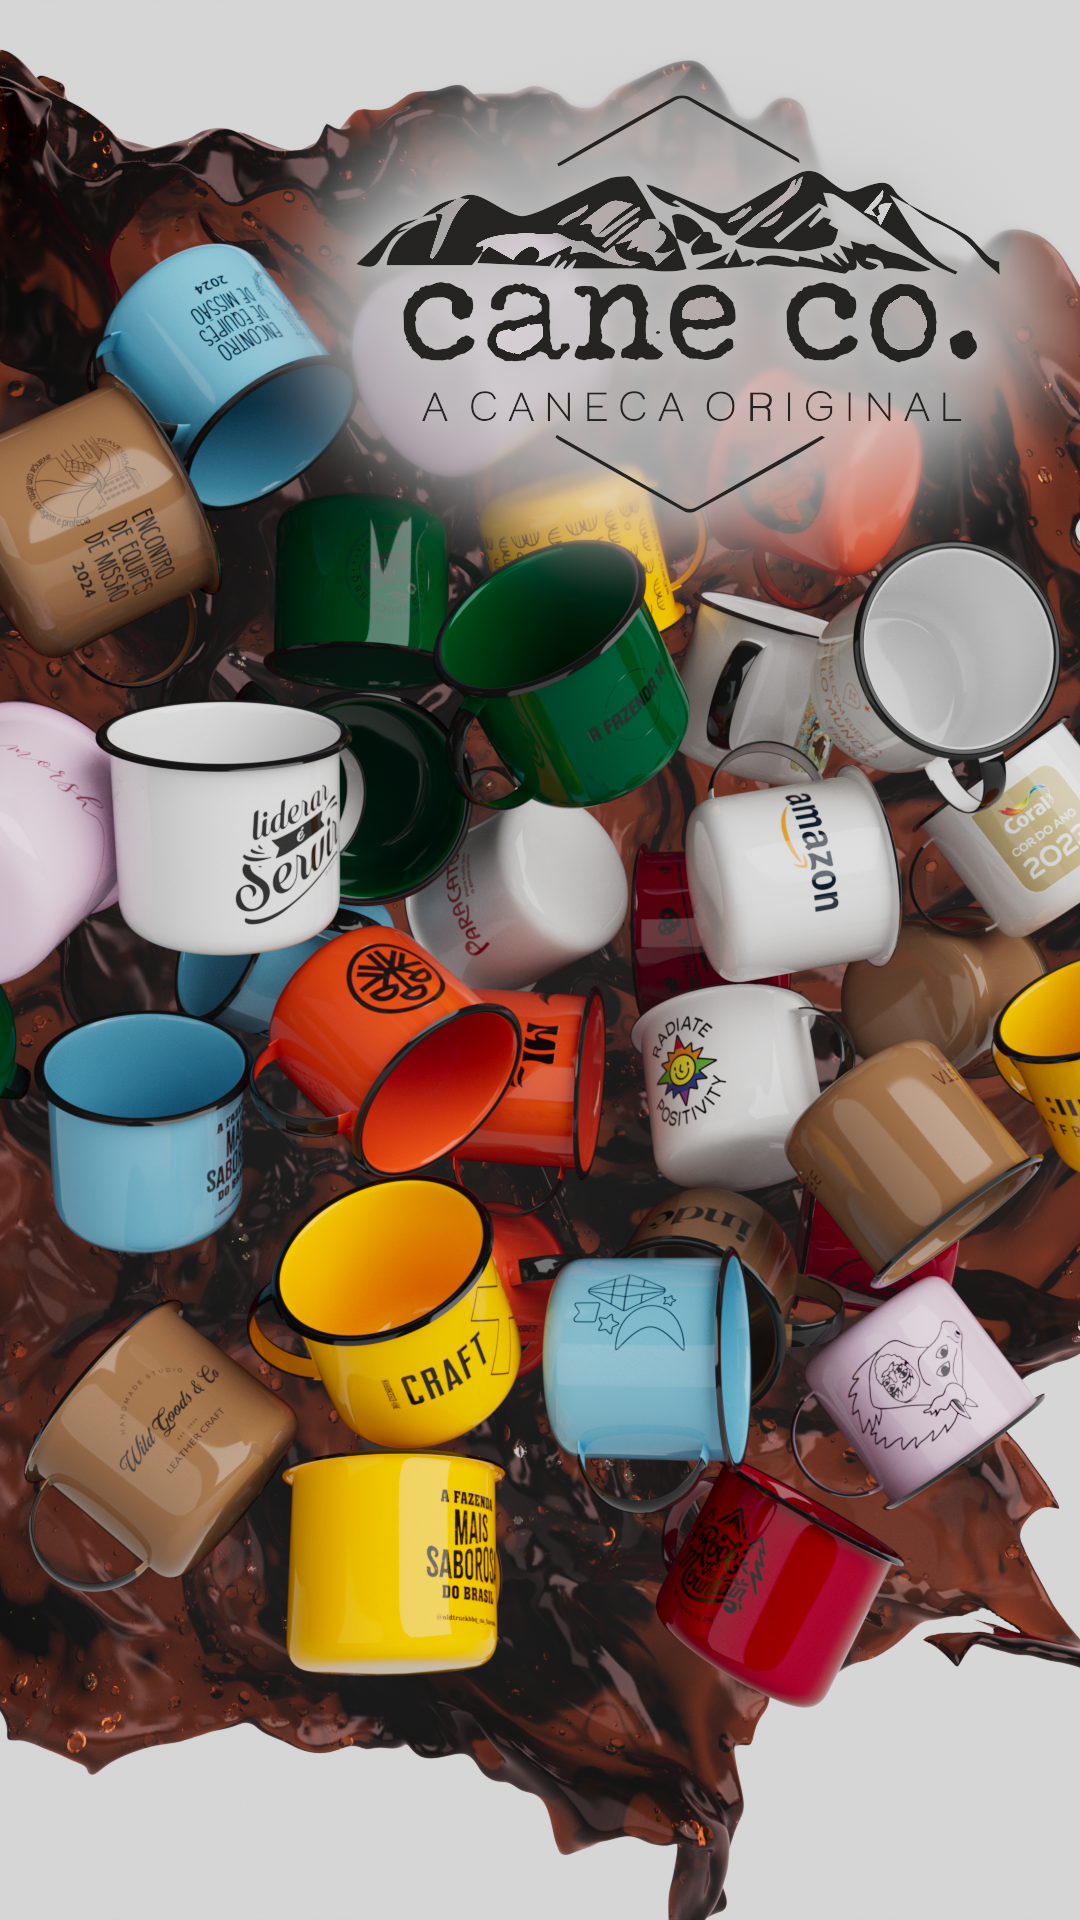
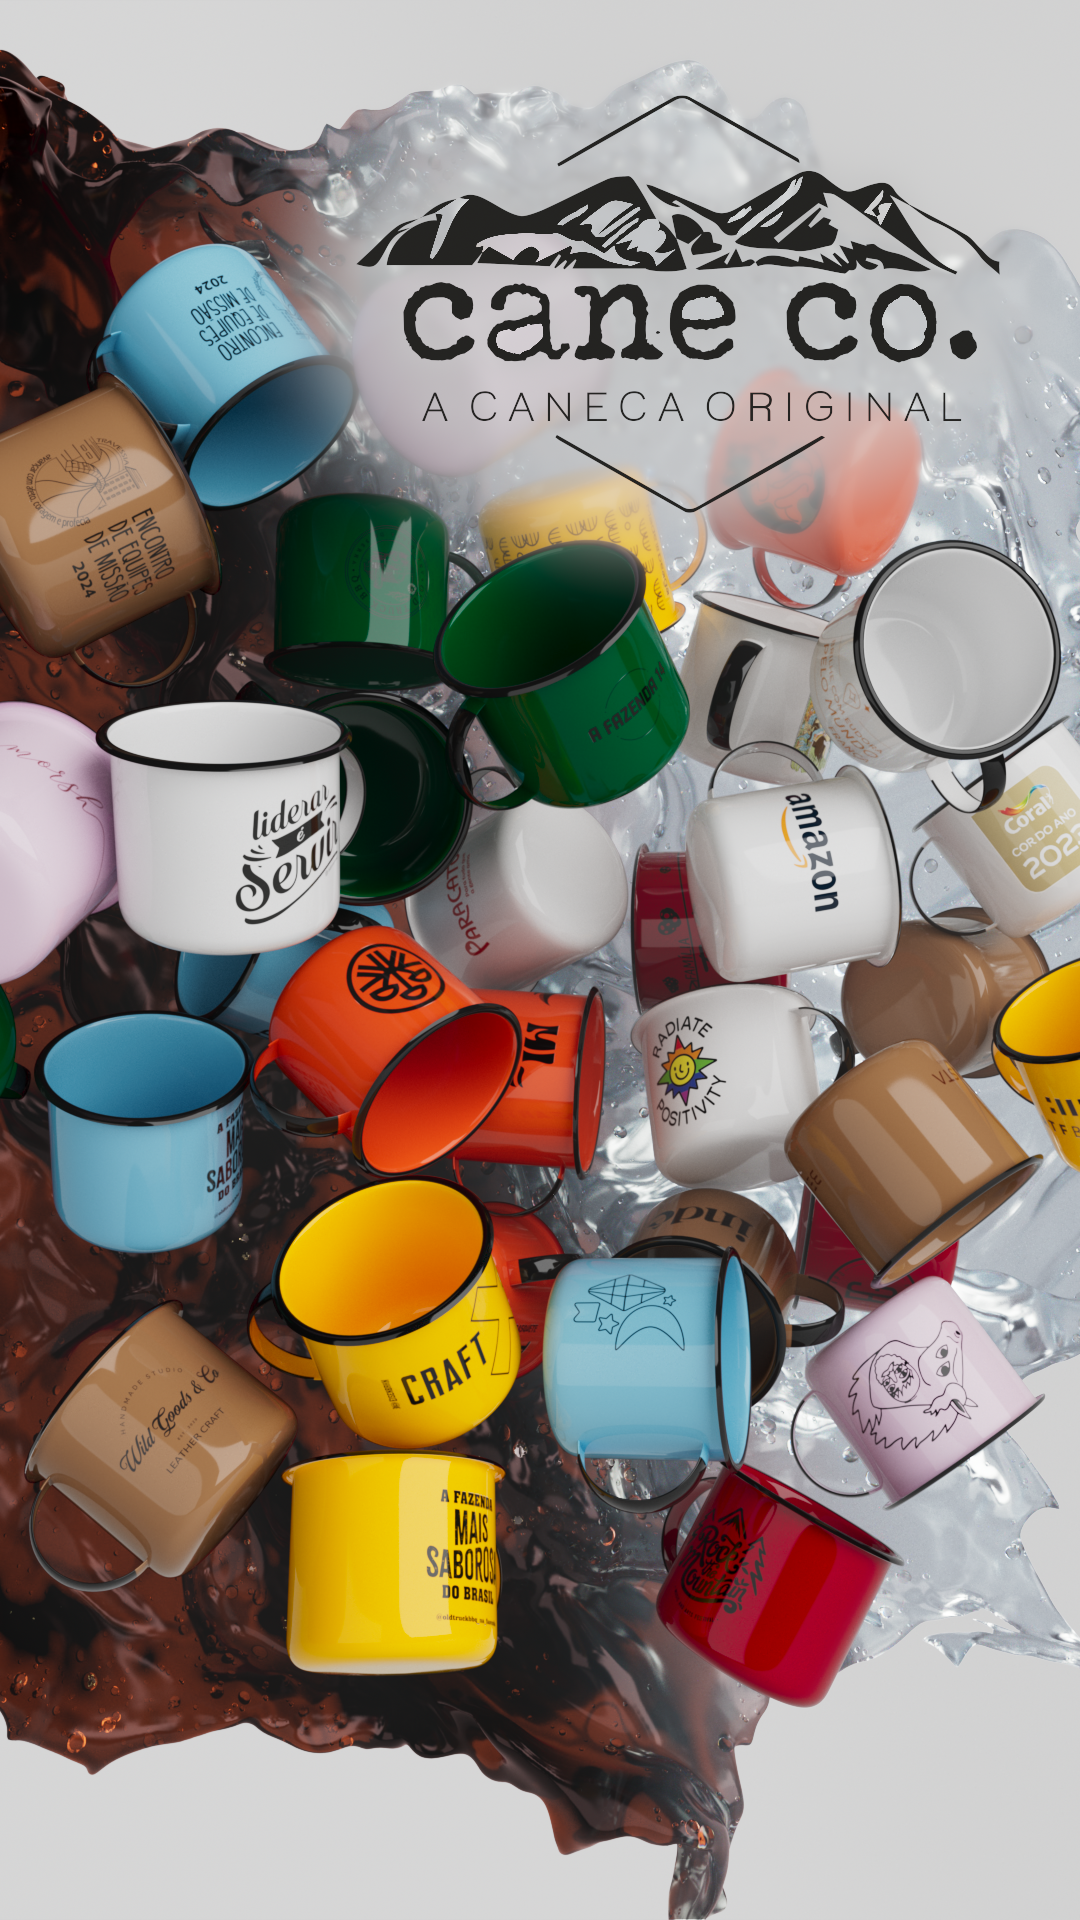
Node Graphic in Houdini
The RBD Sim is the same use on both scenes presented above, therefore the proxy replacement was also the same.
The FLIP Sim for the Static Image is represented bellow.
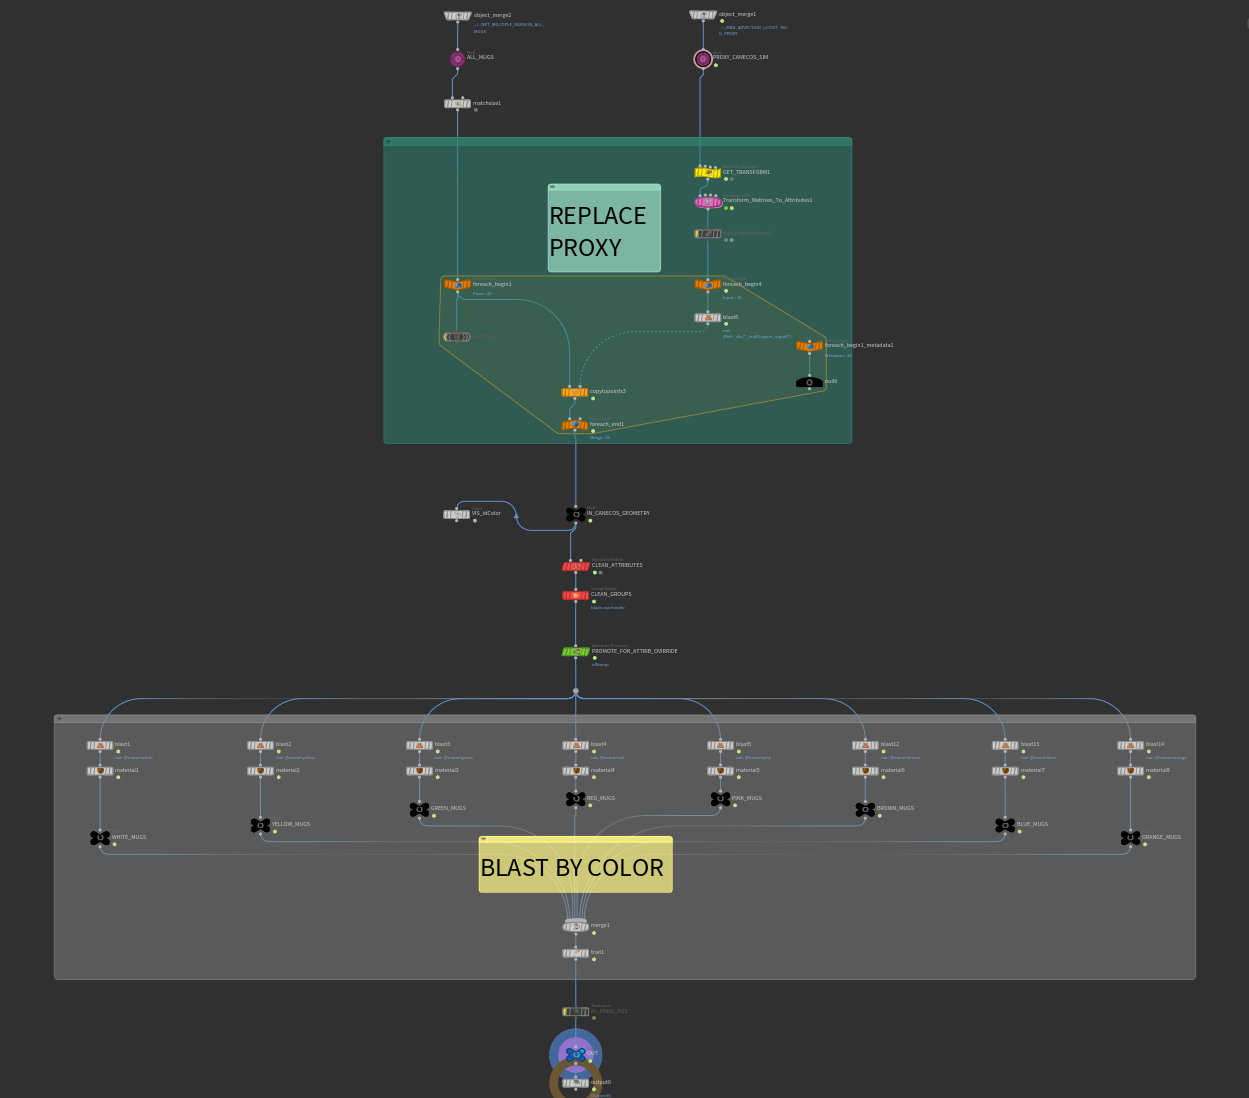
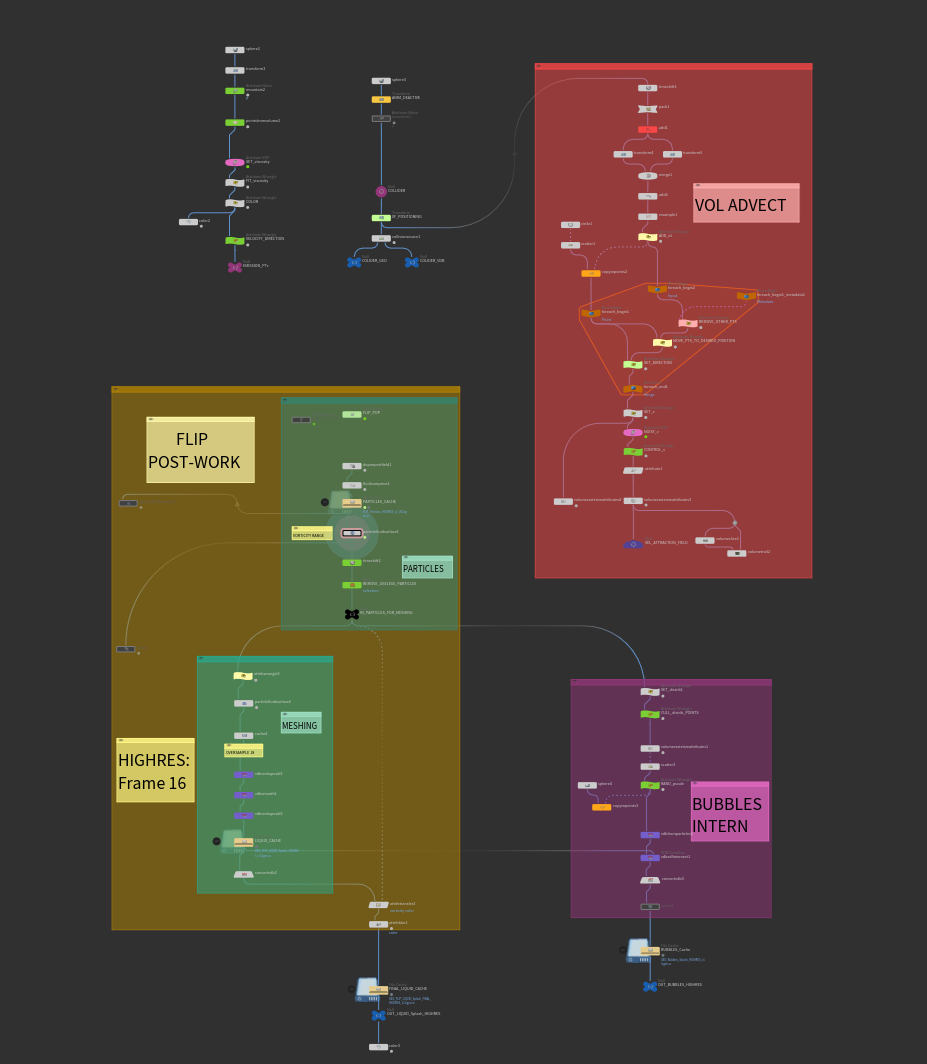
Graph for the FLIP Sim
Solo Production:
Lucas Bernardino
Tools:
Houdini, Redshift & After Effects
